Setting up your PhonePe Smart Speaker is easy and quick. This guide walks you through every step to get your device ready for voice payments and smart assistant features, ensuring a smooth and convenient experience right from the start.
Key Takeaways
- Easy Setup Process: Follow simple steps to connect your PhonePe Smart Speaker to Wi-Fi and your PhonePe account.
- Voice Payment Enabled: Learn how to activate voice commands to make secure and quick payments.
- Integration Tips: Connect the speaker with your PhonePe app for seamless transaction management.
- Personalization: Customize settings like voice recognition and payment security for your convenience.
- Troubleshooting Guide: Resolve common issues related to connectivity and payment failures.
- Security Measures: Understand the security features to keep your transactions safe.
How to Setup PhonePe Smart Speaker for Easy Voice Payments Today
Welcome! In this guide, you’ll learn how to setup your PhonePe Smart Speaker step-by-step. By the end, you will be able to use voice commands to make quick and secure payments, check balances, and manage transactions, all hands-free. Whether you’re a tech newbie or a smart home enthusiast, this guide will simplify the process and help you get the most out of your smart speaker.
Step 1: Unbox and Inspect Your PhonePe Smart Speaker
Start by carefully unboxing your PhonePe Smart Speaker. Inside, you should find the speaker unit, a power adapter, a quick start guide, and any warranty documentation.
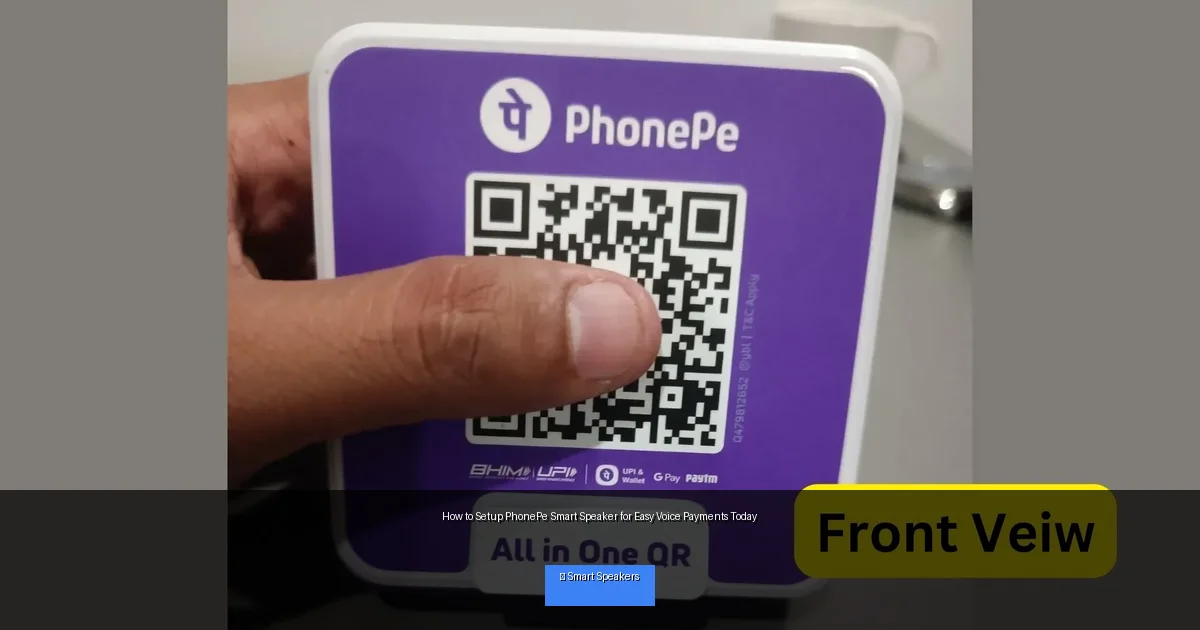
Visual guide about How to Setup PhonePe Smart Speaker for Easy Voice Payments Today
Image source: i0.wp.com
Check for damages
Before plugging it in, inspect the speaker and accessories for any visible damage. If anything looks broken, contact the seller or PhonePe support immediately.
Step 2: Power Up Your Smart Speaker
Plug the power adapter into the smart speaker and then into a power outlet. Press the power button if your device has one. You will hear a welcome tone or voice prompt indicating it’s powered on.
Step 3: Download and Install the PhonePe App
The PhonePe Smart Speaker works closely with the PhonePe app on your smartphone. To setup payments, you need the app installed.
How to install the app
- Open the Google Play Store or Apple App Store on your phone.
- Search for “PhonePe” and tap install.
- Once installed, open the app and log in or register with your mobile number.
Step 4: Connect Your Smart Speaker to Wi-Fi
A stable Wi-Fi connection is essential for your smart speaker to work properly.
Connecting via the PhonePe app
- Open the PhonePe app and go to the Smart Speaker section.
- Tap on Add Device and select PhonePe Smart Speaker.
- Follow the on-screen instructions to connect your speaker to your home Wi-Fi network.
Tips for Wi-Fi connection
- Make sure your phone is connected to the same Wi-Fi network you want the speaker to use.
- Use a 2.4 GHz network if your speaker doesn’t support 5 GHz.
- Keep the speaker close to your router during setup to avoid interference.
Step 5: Link Your PhonePe Account to the Smart Speaker
After connecting the speaker to Wi-Fi, link it with your PhonePe account to enable voice payments.
Enable voice payment permissions
- In the PhonePe app, grant necessary permissions for voice recognition and payments.
- Verify your identity by entering your UPI PIN when prompted.
- Authorize the smart speaker to access your wallet and bank details securely.
Step 6: Set Up Voice Recognition and Security
To ensure only you can make payments via voice commands, setup voice recognition and security features.
Configure voice profiles
- Teach your smart speaker to recognize your voice by repeating a few phrases.
- Enable voice PIN or secondary authentication if available.
Security tips
- Use a strong UPI PIN and never share it aloud or with others.
- Regularly update the PhonePe app and your smart speaker firmware for security patches.
Step 7: Test Your PhonePe Smart Speaker
It’s time to test if your setup is complete and working smoothly.
Try a voice payment
- Say the wake word, like “Hey PhonePe” or “Hello PhonePe”.
- Then say a command such as “Pay 100 rupees to [contact name]”.
- Confirm the transaction when the speaker asks for your UPI PIN or voice confirmation.
Check balance or transaction history
- Use commands like “What’s my PhonePe wallet balance?” or “Show recent transactions”.
Troubleshooting Common Issues
If you encounter problems during setup or use, try these fixes:
- Speaker not connecting to Wi-Fi: Restart your router and speaker, ensure correct password, and try again.
- PhonePe app not detecting speaker: Make sure both devices are on the same network and restart the app.
- Voice payment fails: Check your internet connection, verify your UPI PIN, and ensure permissions are granted.
- Speaker not responding to voice: Speak clearly, reduce background noise, and retrain voice recognition if needed.
Tips to Maximize Your PhonePe Smart Speaker Experience
- Keep your PhonePe app updated to access the latest features and security improvements.
- Use the smart speaker for reminders, alarms, and other smart assistant functions beyond payments.
- Regularly review your transaction history for any unauthorized activity.
- Explore voice commands for other PhonePe services like bill payments and recharges.
Conclusion
Setting up your PhonePe Smart Speaker is a straightforward process that opens up a world of convenience for voice payments and smart home control. By following these steps, you can ensure your device is securely connected, personalized, and ready to help you make quick payments using just your voice. Enjoy hassle-free transactions and smart assistant features designed to make your daily life easier.