How Can a Woman Plan a National Park Visit Alone?
Quick Answer
A woman can plan a national park visit alone by choosing a park that matches her outdoor experience, reserving accommodation early, checking current park alerts, planning realistic daytime activities, downloading offline maps, and giving a detailed trip plan to someone she trusts. Before leaving home, use the National Park Service trip-planning resources to confirm reservations, closures, transportation, weather, wildlife guidance, and park-specific safety rules.
A Simple Solo National Park Plan
- Choose carefully: Start with an established park offering marked trails, staffed visitor facilities, and straightforward transportation.
- Book early: Confirm lodging, camping, timed-entry reservations, permits, and transportation before building your itinerary.
- Plan daylight hours: Schedule major hikes early enough to return comfortably before dark.
- Share your route: Give a trusted person your accommodation, trail, vehicle, and expected return details.
- Pack independently: Carry navigation, water, food, layers, illumination, first aid, and emergency supplies.
- Stay flexible: Change your plans when weather, wildlife activity, fatigue, closures, or your instincts tell you to.
If you’re wondering how can a woman plan a national park visit alone, the answer starts well before reaching the trailhead. Solo national park travel can feel wonderfully freeing, but good preparation matters more when nobody else is sharing the navigation, driving, gear, or decisions.
I approach a solo national park trip as several small planning problems instead of one big adventure. That keeps everything manageable and gives me backup options when weather, crowds, closures, or nerves change the day.
In This Guide
- How Do You Choose a National Park for a Solo Trip?
- What Should You Book Before Visiting a National Park Alone?
- How Should You Build a Solo National Park Itinerary?
- How Can a Woman Stay Safer in a National Park Alone?
- What Should You Pack for a Solo National Park Visit?
- How Should You Prepare for Wildlife, Weather, and Emergencies?
- Frequently Asked Questions
How Do You Choose a National Park for a Solo Trip?
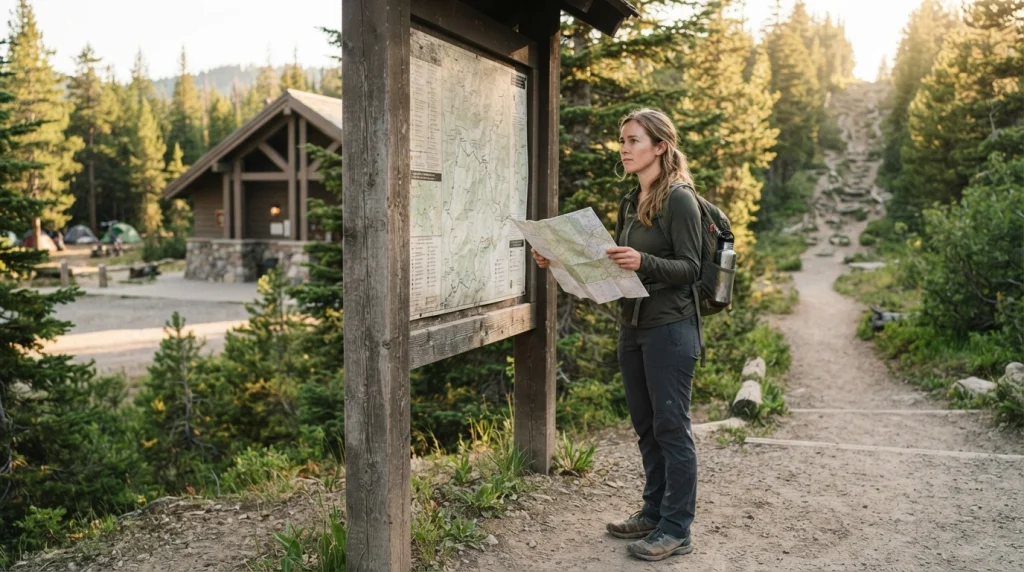
The best park for a solo woman isn’t automatically the most famous one. Choose a park whose terrain, transportation, accommodation, weather, and trail difficulty fit your current experience.
For a first solo national park visit, I prefer places where I can keep the logistics simple. A staffed visitor center, well-marked trails, nearby lodging, and several short activities give me more flexibility.
Start With the Kind of Trip You Already Know
If you’ve never camped alone, your first solo park trip doesn’t need to include a remote campsite. Stay in a lodge, hotel, cabin, or established campground while you learn how the park works.
The same rule applies to hiking. A solo vacation isn’t the best time to suddenly turn a three-mile hiking background into a difficult 15-mile backcountry day.
- New outdoor traveler: Choose popular day-use areas, short trails, ranger programs, and frontcountry accommodation.
- Comfortable day hiker: Add longer marked trails while returning to established lodging each evening.
- Experienced backpacker: Consider backcountry travel only after checking permits, water, navigation, weather, and park-specific hazards.
Research the Park by Season
A park can be an entirely different trip in April, July, and October. Roads, shuttles, trails, campgrounds, water sources, and visitor services may operate seasonally.
Check the individual park’s National Park Service page shortly before traveling. Look for alerts, closures, current conditions, weather information, and seasonal transportation.
Solo female national park travel also becomes easier when you reduce unnecessary uncertainty. Knowing where you’ll sleep and how you’ll reach your first trailhead removes two major stress points.
Section Takeaway: Choose a park that fits the skills you already have. A simple, well-supported park visit is usually a better first solo experience than a remote trip built around proving something.
What Should You Book Before Visiting a National Park Alone?
Confirm the things that could stop your trip before planning smaller details. Accommodation, park entry, campground space, permits, tours, and transportation should come first.
Some park experiences require advance reservations while others don’t. Requirements can change, so verify them directly through the park and official federal reservation systems.
Check These Before Buying a Flight
- Entrance arrangements: Check whether the park requires an entrance pass or timed-entry reservation.
- Accommodation: Reserve your hotel, lodge, campsite, or cabin before relying on nearby availability.
- Special permits: Check permits for backcountry camping, specific hikes, climbing, or other controlled activities.
- Transportation: Find out whether you’ll need a rental car, park shuttle, seasonal bus, or private transfer.
- Road access: Confirm that the roads you plan to use are open during your travel dates.
Recreation.gov handles reservations and permits for many federal recreation sites, though not every national park activity is booked there. Always cross-check the individual park’s official page.
Frontcountry or Backcountry?
Frontcountry travel generally keeps you near developed roads, campgrounds, visitor centers, and established services. Backcountry travel takes you farther from those facilities and usually requires more self-sufficiency.
| Planning Factor | Frontcountry Visit | Backcountry Visit |
|---|---|---|
| Typical activity | Day hikes, scenic drives, ranger programs | Remote hiking or overnight wilderness travel |
| Accommodation | Hotel, lodge, cabin, developed campground | Backcountry campsite or wilderness camping |
| Navigation needs | Usually marked roads and established trails | Greater independent navigation ability |
| Communication | Cell coverage may still be unreliable | Long periods without cell coverage are possible |
| Best fit | Most first solo park trips | Travelers with relevant wilderness skills |
I wouldn’t make a first solo visit complicated just because remote scenery looks appealing online. You can have an unforgettable national park trip while sleeping in a proper bed every night.
How Should You Build a Solo National Park Itinerary?
A good solo itinerary leaves space between major activities. Plan one priority experience each day, then add optional stops around it.
That approach protects you from the common mistake of creating a vacation that only works when traffic, weather, parking, energy, and trail conditions are perfect.
Try a Simple Three-Day Framework
- Day 1 — Orientation: Arrive during daylight, check in, visit the visitor center, confirm current conditions, and take one short walk.
- Day 2 — Main adventure: Start your most important hike or activity early and keep the evening flexible.
- Day 3 — Flexible exploration: Choose a scenic drive, easier trail, ranger activity, or missed attraction before leaving.
I like putting my hardest activity on the middle day. I’ve already learned the park layout, but I still have another day if weather forces me to change plans.
Plan Around Daylight, Not Ambition
Work backward from sunset and set a personal turnaround time. Don’t let reaching a viewpoint become more important than returning safely.
Trail distance also tells only part of the story. Elevation, heat, altitude, loose surfaces, snow, river crossings, and a heavy pack can make a short route feel much harder.
- Check the official trail description.
- Note distance and elevation change.
- Confirm whether water is available.
- Check current trail conditions.
- Identify your turnaround time.
- Choose a backup activity.
The National Park Service specifically recommends matching hikes to your ability and checking conditions before starting. :chatgpt-content-reference{index=”2″}
Section Takeaway: Build your day around one meaningful experience and enough time to change course. A flexible itinerary is safer and usually more enjoyable than an overloaded checklist.
How Can a Woman Stay Safer in a National Park Alone?
Solo national park safety depends less on looking fearless and more on creating backup systems. Someone should know where you’re going, when you expect to return, and what to do if you don’t check in.
The National Park Service recommends leaving a trip plan with a trusted contact. That plan can help responders if you fail to return as expected. :chatgpt-content-reference{index=”3″}
Create a Real Trip Plan
Before a significant hike, send one trusted person enough information to identify your intended route. Don’t simply text, “Going hiking today.”
- Your park and trail name
- Trailhead or starting location
- Vehicle description and parking area
- Planned route
- Expected start time
- Expected return time
- Your accommodation
- When they should expect your check-in
- What they should do if you don’t return
Then remember the final step: tell them when you’re safely back. Otherwise, your carefully designed safety system creates needless alarm.
Don’t Depend on Cell Service
I download maps before entering the park, even when my phone shows good reception at the hotel. Service can disappear within a surprisingly short drive.
NPS guidance warns that cellular coverage may be unavailable and recommends carrying backup navigation rather than treating your phone as your only safety tool. :chatgpt-content-reference{index=”4″}
Use Situational Awareness Without Ruining Your Trip
You don’t need to spend the entire day suspicious of everyone. You do need to notice your surroundings and make deliberate choices.
- Arrive at unfamiliar accommodation during daylight when practical.
- Keep your exact room or campsite private around strangers.
- Avoid announcing remote solo plans to people you’ve just met.
- Keep your vehicle keys and phone accessible.
- Move away from situations that feel uncomfortable.
- Ask a ranger about trail conditions before remote hikes.
- Choose populated trails when that better matches your experience.
I also give myself permission to turn around without needing a dramatic reason. Fatigue, weather, an uneasy feeling, poor visibility, or confusing navigation is enough.
Pro tip: Always check the individual park’s official NPS alerts and safety guidance before traveling. Conditions and regulations can change after an article like this is published.
Section Takeaway: Solo safety works best as a system: a trip plan, backup navigation, realistic routes, reliable check-ins, and the freedom to change your mind.
What Should You Pack for a Solo National Park Visit?
Pack so that a small inconvenience doesn’t immediately become an emergency. The exact list changes with the environment, season, trail, and length of your outing.
The National Park Service organizes basic outdoor emergency gear around its Ten Essentials. These cover navigation, sun protection, insulation, light, first aid, fire, tools, food, water, and emergency shelter. :chatgpt-content-reference{index=”5″}
My Basic Solo Day-Hike Checklist
- Navigation: Offline digital map plus a backup paper map when appropriate.
- Water: Enough for the expected conditions, plus a realistic reserve.
- Food: Trail food and extra calories for delays.
- Clothing: Layers appropriate for the park’s changing conditions.
- Light: A headlamp or flashlight, even for a planned daytime hike.
- First aid: A compact kit I know how to use.
- Sun protection: Sunscreen, sunglasses, and a hat where appropriate.
- Emergency supplies: Items suitable for unexpected delays or exposure.
- Phone power: A charged phone and portable battery.
- Park-specific gear: Items required for heat, snow, insects, water, altitude, or wildlife.
The important phrase is park-specific. Desert hiking, coastal hiking, high-altitude hiking, and bear-country hiking shouldn’t use identical packing lists.
Keep Important Items on Your Body
I avoid putting every important item somewhere I can’t reach quickly. Phone, keys, essential medication, and navigation tools should be easy to access.
Before leaving the trailhead, I also check that my offline map opens correctly. Discovering a download failed after losing signal is avoidable.
Leave No Trace practices belong in your planning too. Carry out your waste, respect wildlife, stay within permitted areas, and follow the park’s rules for protecting natural and cultural resources.
How Should You Prepare for Wildlife, Weather, and Emergencies?
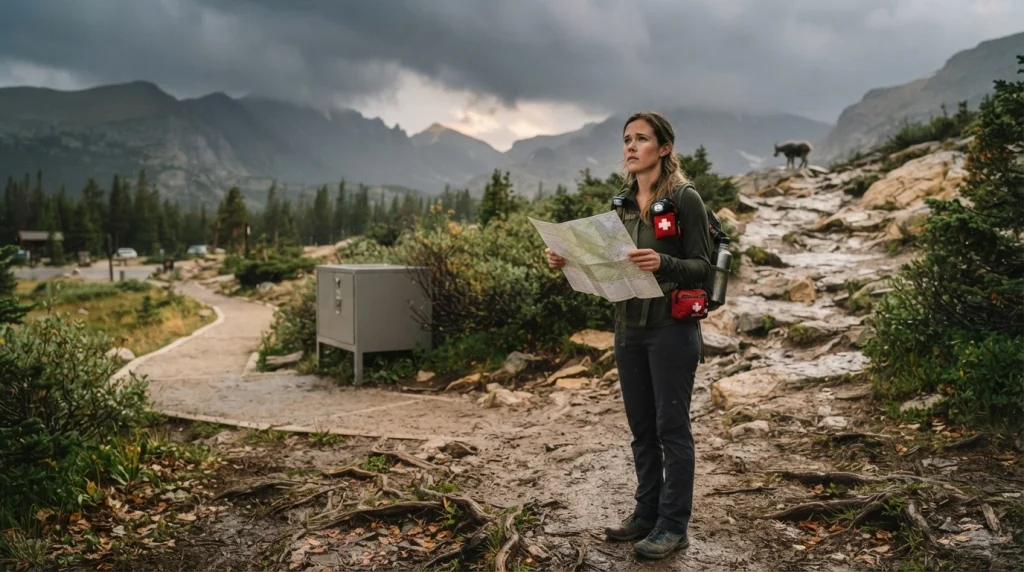
Research the hazards of the specific park rather than relying on general outdoor advice. Wildlife, heat, altitude, water, snow, storms, and terrain create different risks in different places.
This is one reason I stop at visitor centers when possible. A ranger can tell me what has changed since I planned the trip at home.
Wildlife Rules Vary by Park
Don’t approach animals for a photograph. Wildlife is wild, and the appropriate response depends on the species and local conditions.
Bear-country guidance is especially location-specific. NPS recommends checking each park’s current information because bear species, food-storage rules, closures, and recommended precautions can differ. :chatgpt-content-reference{index=”6″}
- Learn which large animals live in the park.
- Know required wildlife-viewing distances.
- Follow food-storage regulations.
- Check whether bear spray is recommended and permitted.
- Ask about recent wildlife activity or closures.
Weather Can Change the Whole Plan
Check the forecast the evening before and again before leaving. Then compare it with park alerts instead of relying only on a general weather app.
If conditions deteriorate, use your backup plan. NPS trip-planning guidance specifically encourages visitors to prepare alternative activities when the original plan becomes unsuitable. :chatgpt-content-reference{index=”7″}
Know What You’ll Do if Something Goes Wrong
An emergency plan begins before an emergency. Think through how you would react to an injury, navigation mistake, disabled vehicle, sudden storm, or unexpected night outside.
- Know where the nearest staffed park facility is.
- Carry the supplies needed for an unexpected delay.
- Keep your trusted contact updated when plans change.
- Know whether your route has dependable cell coverage.
- Consider additional communication equipment for remote trips.
- Turn around before conditions exceed your skills or gear.
One lesson I keep returning to is simple: changing the plan isn’t failure. On a solo trip, good judgment matters more than completing every activity you imagined at home.
Pro tip: Check the official National Park Service page for your exact destination immediately before hiking. Use current park alerts for closures, weather-related hazards, wildlife notices, fires, road conditions, and emergency guidance.
Section Takeaway: Prepare for the hazards of the specific park, not an imaginary “average” national park. Current ranger guidance should override an old itinerary.
Frequently Asked Questions
Is it okay for a woman to visit a national park alone?
Yes, women do visit national parks alone, but the appropriate trip depends on experience, terrain, weather, and current conditions. Start with established areas and realistic activities, share your itinerary, carry proper equipment, and use current park guidance when making decisions.
What is the easiest type of national park trip for a first-time solo woman?
A frontcountry trip with nearby lodging, developed roads, a staffed visitor center, marked day hikes, and several activity options is usually simpler to manage than a remote backcountry trip. You can gain outdoor confidence without combining too many new skills at once.
Should I hike alone in a national park?
Solo hiking requires extra preparation because you won’t have a companion to help with navigation, injury, or emergencies. NPS notes that hiking with a companion is safer, and solo hikers should take additional precautions, including a trip plan and reliable navigation. :chatgpt-content-reference{index=”8″}
Should someone know my hiking itinerary?
Yes. Give a trusted contact your route, start point, expected return time, vehicle information, and instructions for what to do if you don’t return. NPS specifically recommends sharing a trip plan with someone who isn’t traveling with you. :chatgpt-content-reference{index=”9″}
Can I rely on my phone for maps inside a national park?
No. Cell service can be unreliable or unavailable, and battery failure creates another problem. Download offline maps before arriving and carry an appropriate backup navigation method, especially on longer or more remote routes.
Is camping alone necessary for a solo national park trip?
No. Solo national park travel can include hotels, park lodges, cabins, established campgrounds, or accommodation in gateway towns. If camping alone adds more stress than enjoyment, staying indoors can make your first trip much easier.
How far in advance should I plan a national park trip?
Start as soon as your dates become likely if the trip involves popular lodging, campgrounds, permits, or limited-entry experiences. Reservation schedules differ by park, so verify current booking windows through the individual park and official reservation systems rather than assuming one national rule.
A national park visit alone doesn’t need to begin with the hardest trail or the most remote campsite. Start with a trip that gives you room to learn how you travel outdoors when every decision is yours.
Plan the important details, leave breathing room, tell someone where you’ll be, and listen when conditions tell you to change course. That combination can turn a nerve-racking first national park trip into the kind of solo experience you’ll want to repeat.