Making a smart speaker at home is easier than you think. This guide walks you through every step, from gathering materials to programming voice commands. You’ll create a functional smart speaker that responds to your voice and plays audio, all with simple tools and clear instructions.
Key Takeaways
- Understand the basics: Learn what a smart speaker is and how it works.
- Gather essential components: Use affordable parts like a Raspberry Pi, microphone, and speaker.
- Set up the hardware: Connect the components correctly for smooth operation.
- Install software: Use open-source voice assistant platforms to add voice control.
- Customize your smart speaker: Add features like music playback, weather updates, and smart home control.
- Troubleshoot common issues: Tips to fix sound, connection, and command recognition problems.
- Enjoy your creation: Use your smart speaker daily and continue improving it over time.
How to Make a Smart Speaker Easily at Home with Step by Step Guide
If you love tech and want a hands-on project, building a smart speaker at home is a perfect choice. This guide will teach you how to create a simple yet effective smart speaker that responds to your voice commands and plays music. You don’t need to be an expert; just follow the clear instructions, and you’ll have your own smart assistant in no time.
What You Will Learn
By the end of this guide, you’ll know how to:
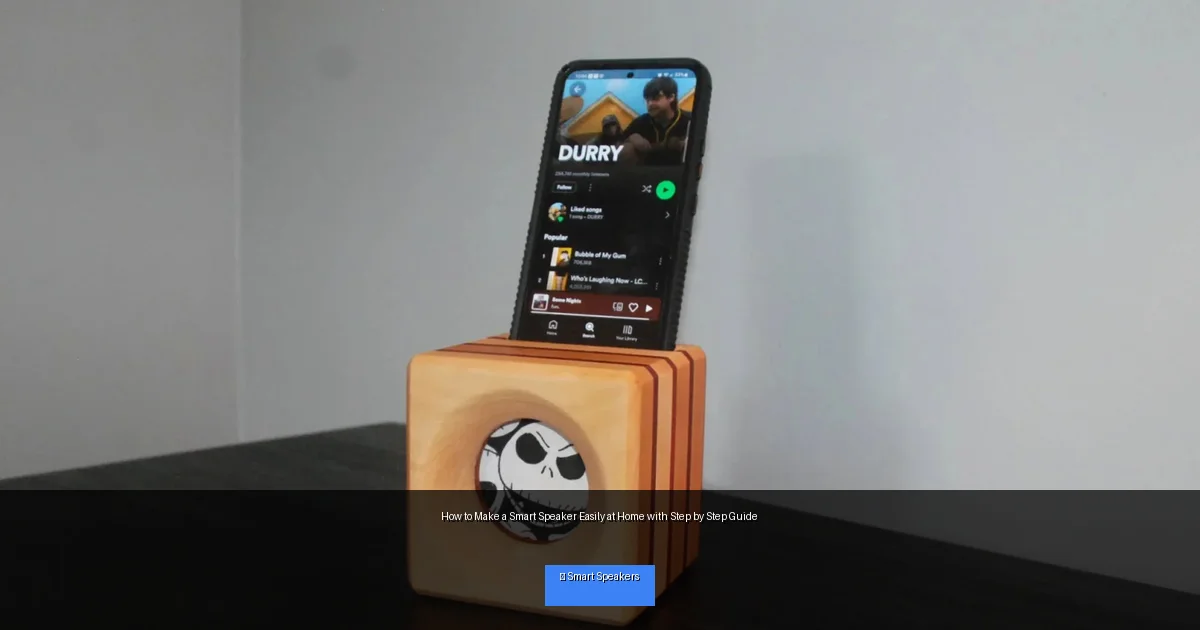
Visual guide about How to Make a Smart Speaker Easily at Home with Step by Step Guide
Image source: citizenside.com
- Choose the right hardware components
- Assemble and connect your smart speaker parts
- Install and configure voice assistant software
- Customize the smart speaker’s functions
- Troubleshoot common issues
Step 1: Gather Your Materials and Tools
Essential Components
- Raspberry Pi: A small, affordable computer perfect for DIY projects. Raspberry Pi 3 or 4 is recommended.
- Microphone: A USB microphone or a microphone array for voice input.
- Speaker: USB or 3.5mm jack speaker to output sound.
- Power supply: A reliable power source for your Raspberry Pi.
- MicroSD card: At least 16GB to install the software and OS.
- Optional: Case for Raspberry Pi, keyboard, and mouse for setup.
Tools You’ll Need
- Computer for initial setup
- Internet connection
- Basic screwdriver (if using a case)
Step 2: Set Up Your Raspberry Pi
Install Raspberry Pi OS
Start by downloading the Raspberry Pi OS image from the official website. Use software like Raspberry Pi Imager or balenaEtcher to flash the OS onto your microSD card.
Boot and Configure
Insert the microSD card into your Raspberry Pi. Connect the keyboard, mouse, and monitor. Power it on and complete the initial setup, including connecting to Wi-Fi.
Update Your System
Open the terminal and run:
sudo apt updatesudo apt upgrade
This ensures you have the latest software and security patches.
Step 3: Connect Your Microphone and Speaker
Plug in the Microphone
Insert your USB microphone into one of the Raspberry Pi’s USB ports. If you have a microphone array, connect it similarly.
Attach the Speaker
Connect your speaker via USB or the 3.5mm audio jack. Test sound output by running:
speaker-test -t wav
You should hear test sounds from the speaker.
Adjust Audio Settings
Open the audio settings panel and select your microphone and speaker as input and output devices.
Step 4: Install Voice Assistant Software
Choose Your Voice Assistant
There are several open-source voice assistants you can use:
- Mycroft AI: Popular open-source assistant with strong community support.
- Google Assistant SDK: Official Google assistant, requires a Google account and API setup.
- Amazon Alexa SDK: Amazon’s voice assistant with extensive features.
This guide uses Mycroft AI for simplicity and openness.
Install Mycroft AI
Open the terminal and run:
bash <(curl -s https://raw.githubusercontent.com/MycroftAI/mycroft-core/master/scripts/install.sh)
Follow the on-screen instructions. This process downloads and installs the Mycroft core software.
Start Mycroft Services
After installation, start the assistant by running:
./start-mycroft.sh all
You should hear the assistant’s welcome message, indicating it’s ready.
Step 5: Configure Your Smart Speaker
Set Up Wake Word
Configure the assistant to listen for a wake word like “Hey Mycroft.” This ensures it only responds when called.
Edit the configuration file located at ~/.mycroft/mycroft.conf to customize the wake word and other settings.
Add Skills and Functions
Mycroft supports many skills such as weather updates, news, and music playback. Browse the Mycroft Marketplace to install new skills with:
mycroft-msm install skill-name
Test Your Smart Speaker
Try saying your wake word followed by simple commands like “What’s the weather?” or “Play music.”
Step 6: Customize and Improve
Upgrade Hardware
Consider adding a better microphone array or improving speaker quality for clearer sound.
Integrate Smart Home Devices
Link your smart speaker with devices like smart bulbs or plugs using compatible skills or APIs.
Develop Your Own Skills
If you’re coding-savvy, create personalized voice commands and responses to make your speaker unique.
Troubleshooting Common Issues
Microphone Not Detected
- Check USB connection.
- Run
arecord -lto list recording devices. - Adjust microphone input volume using
alsamixer.
No Sound from Speaker
- Check speaker connections.
- Run
aplay -lto list playback devices. - Set correct output device in audio settings.
Voice Commands Not Recognized
- Ensure microphone is working properly.
- Speak clearly and close to the microphone.
- Check internet connection as many assistants require online processing.
Conclusion
Building your own smart speaker at home is a rewarding project that blends hardware and software skills. With simple components like a Raspberry Pi, a microphone, and a speaker, you can create a voice-controlled assistant customized to your needs. Follow this guide, be patient, and experiment with different features. Soon, you’ll enjoy the convenience of a smart speaker made by you, enhancing your home with technology tailored just right.