
Making your own smart speaker is a fun and rewarding project that lets you customize voice control at home. This guide walks you through all the steps from gathering parts to programming your device, so you can enjoy a personalized smart assistant.
Key Takeaways
- Understanding components: Learn the essential parts needed to build a smart speaker, like a microcontroller, microphone, speaker, and Wi-Fi module.
- Step-by-step assembly: Follow clear instructions on hardware setup and wiring your smart speaker.
- Programming basics: Discover how to code your device using popular platforms like Arduino or Raspberry Pi.
- Voice assistant integration: Integrate open-source voice recognition or connect to cloud services for smart functionality.
- Troubleshooting tips: Find solutions for common issues such as connectivity or audio problems.
- Customization options: Explore ways to personalize your smart speaker’s features and appearance.
- Cost-effective solution: Build a smart speaker with budget-friendly components while maintaining great performance.
How to Make Your Own Smart Speaker Step by Step Guide
If you’ve ever wanted a smart speaker tailored exactly to your needs, building your own is a great way to get there. In this guide, you’ll learn how to assemble hardware, program voice commands, and create a functional voice-controlled device. We’ll keep things simple and friendly, so even beginners can follow along.
What You Will Learn
By the end of this guide, you’ll understand the components required for a smart speaker, how to assemble and wire them, how to program voice commands, and how to troubleshoot common problems. You’ll also get ideas for customizing your smart speaker to best fit your lifestyle.
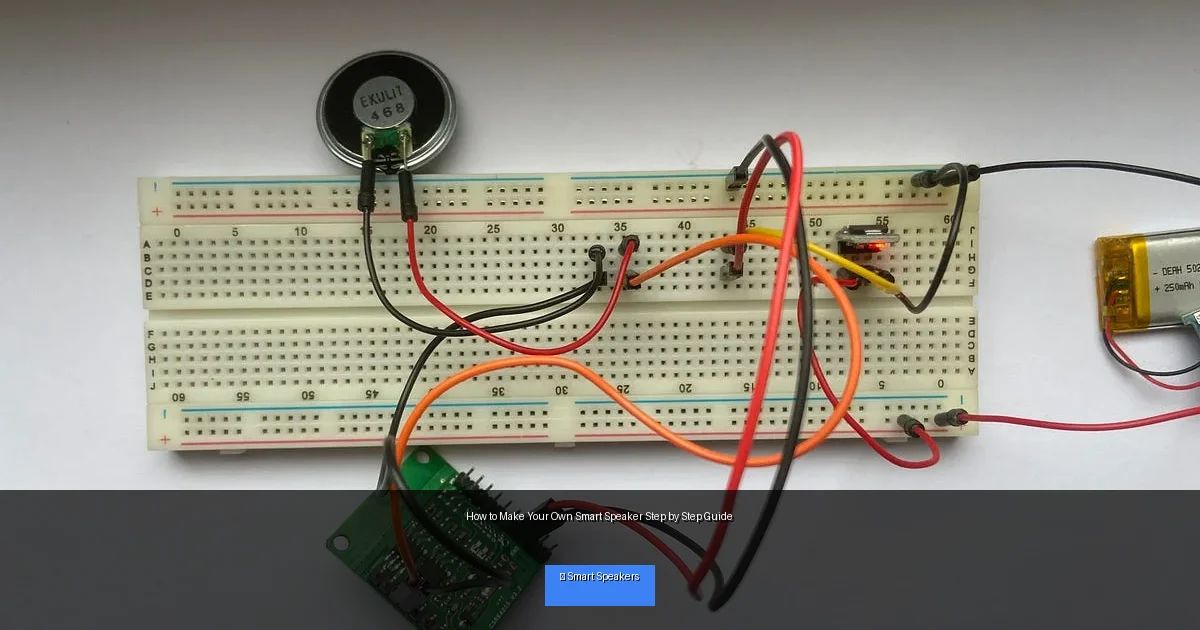
Visual guide about How to Make Your Own Smart Speaker Step by Step Guide
Image source: miro.medium.com
Step 1: Gather Your Materials
Essential Hardware Components
- Microcontroller or Single-Board Computer: Popular choices include Raspberry Pi or Arduino. Raspberry Pi offers more processing power and easier voice assistant integration.
- Microphone: A USB or analog microphone to capture voice commands.
- Speaker: Small powered speakers or a speaker module for audio output.
- Wi-Fi Module: Often built into Raspberry Pi; for Arduino, you may need an ESP8266 or ESP32 for connectivity.
- Power Supply: A reliable power source, such as a USB power adapter or battery pack.
- Additional Accessories: Jumper wires, breadboard, casing/enclosure (optional but recommended for protection).
Software Requirements
- Operating System: Raspberry Pi OS or similar Linux distribution for Raspberry Pi users.
- Development Environment: Arduino IDE for Arduino boards; Python and related libraries for Raspberry Pi.
- Voice Recognition Software: Options like Google Assistant SDK, Amazon Alexa SDK, or open-source alternatives such as Mycroft AI or Snowboy.
- Audio Libraries: To handle playback and recording, like PyAudio or ALSA on Linux.
Step 2: Set Up Your Hardware
Prepare the Microcontroller or Raspberry Pi
Start by installing the operating system on your Raspberry Pi using an SD card. For Arduino, connect the board to your computer using a USB cable to upload code later.
Connect the Microphone and Speaker
Plug the microphone into the Raspberry Pi’s USB port or the Arduino’s analog input via an amplifier module. Connect the speaker to the audio output port or an amplifier circuit.
Establish Wi-Fi Connectivity
Set up your device to connect to your home Wi-Fi network. On Raspberry Pi, you can configure this via the desktop interface or command line. For Arduino with ESP modules, you will need to include Wi-Fi credentials in the code.
Step 3: Install and Configure Voice Recognition Software
Choose Your Voice Assistant Platform
Decide whether you want to use a cloud-based service like Google Assistant or an open-source option. Cloud services offer better accuracy but require internet connectivity.
Install Required Libraries and SDKs
Follow the official instructions to install SDKs. For example, Google Assistant SDK on Raspberry Pi requires Python and authorization steps to link your Google account.
Test the Microphone Input
Use simple recording commands to check if your microphone is working correctly. For example, on Raspberry Pi, the arecord command can record audio samples.
Step 4: Write and Upload Your Code
Basic Voice Command Code
Start with simple code that listens for a wake word or command phrase and then triggers a response. Many SDKs provide sample scripts.
Customize Commands
Add personal commands like controlling smart home devices, playing music, or answering questions. Use APIs and libraries that fit your goals.
Upload and Run
For Arduino, upload the sketch via the IDE. For Raspberry Pi, run your Python scripts and set them to launch on startup if desired.
Step 5: Build or Choose an Enclosure
Protect Your Smart Speaker
Use a pre-made case or design one with 3D printing or craft materials. Ensure openings for the microphone and speaker for clear audio.
Placement Tips
Place your smart speaker where it can easily hear your voice and connect to Wi-Fi reliably—usually a central location in your home.
Step 6: Test and Troubleshoot
Common Issues and Fixes
- No Sound Output: Check speaker connections and volume settings.
- Microphone Not Picking Up Voice: Verify microphone is enabled and test with recording software.
- Wi-Fi Connectivity Problems: Double-check network credentials and signal strength.
- Voice Commands Not Recognized: Calibrate microphone sensitivity, retrain wake word if applicable, or check internet connection.
Helpful Tips
- Keep your software updated to ensure compatibility.
- Use a high-quality microphone for better voice recognition.
- Test in a quiet environment to reduce background noise interference.
Step 7: Customize and Expand
Add Features
Consider adding LED indicators, touchscreen displays, or integrating with other smart home devices.
Improve Voice Recognition
Train your assistant to better recognize your voice and commands by adjusting settings or using machine learning tools.
Experiment With Different Voice Assistants
Try multiple platforms to find the one that best meets your needs and preferences.
Conclusion
Building your own smart speaker is a fun way to learn about electronics and programming. You get a device tailored to your preferences and can expand its capabilities over time. With the right parts, software, and a bit of patience, you’ll have a custom smart assistant ready to help you every day.