How Can a Solo Female Traveler Prepare a Local SIM?
Quick Answer
A solo female traveler should prepare for a local SIM before departure by checking that her phone is unlocked, confirming its SIM or eSIM compatibility, researching local carriers, and keeping access to her home number for important verification messages. I also recommend reviewing the U.S. State Department’s international communication guidance before traveling.
Prepare in six steps
- Unlock your phone: Confirm it can accept service from a different mobile carrier.
- Check SIM support: Find out whether your phone uses a physical SIM, eSIM, or both.
- Research local carriers: Compare coverage where you will actually stay and travel.
- Prepare identification: Some destinations require passport or identity registration when activating a local SIM.
- Protect your home number: Plan how you will receive banking or account verification messages.
- Save a backup: Download offline maps and keep essential contacts available without mobile service.
When I’m traveling alone, mobile service is part of my arrival plan, not an afterthought. Maps, ride apps, accommodation messages, translation tools, and emergency contacts can all depend on that small connection.
As of 2026, travelers have more choices than simply swapping a plastic SIM at the airport. This guide explains how to prepare a local SIM safely, choose the right setup, and avoid losing access to your important accounts.
In This Guide
- What should you check before buying a local SIM?
- Where should a solo female traveler buy a local SIM?
- Local SIM vs. eSIM vs. roaming: which is better?
- How do you activate a local SIM safely after arrival?
- How can you keep your home number and accounts working?
- What should you do if your SIM or phone stops working?
- Frequently asked questions
What Should You Check Before Buying a Local SIM?
Start by confirming that your phone can use another carrier. A local SIM will not solve your connectivity problem if the phone remains locked to your home network.
A local SIM is a physical or digital subscriber identity that connects your phone to a mobile operator in the country you’re visiting. It normally gives you local mobile service rather than relying on your home carrier’s international roaming.
Confirm that your phone is unlocked
Check with your current carrier before departure. Don’t assume that having a removable SIM tray means the phone is unlocked.
For example, Google explains that a phone must be SIM-unlocked before it can freely use another supported carrier. You can review its SIM-unlocked phone guidance if you use a Pixel.
Check whether you need a physical SIM or eSIM
- Physical SIM: You insert a small card into the phone’s SIM tray.
- eSIM: You download a digital carrier profile instead of inserting a card.
- Dual SIM: Your phone can keep two mobile lines available, depending on the device and carrier.
Check your exact phone model rather than relying on the model family name. Regional versions of the same phone can support different SIM configurations.
Prepare the details you may need
Some countries require local SIM buyers to register their identity. The required information depends on local regulations and the mobile operator.
- Your passport or permitted local identification
- Your accommodation address if required
- Your phone’s IMEI number if requested by the operator
- A payment method accepted locally
- Your SIM tray tool if your phone uses a physical card
Pro tip: Check the destination’s official rules and current travel information before departure, since mobile registration requirements can change.
Where Should a Solo Female Traveler Buy a Local SIM?
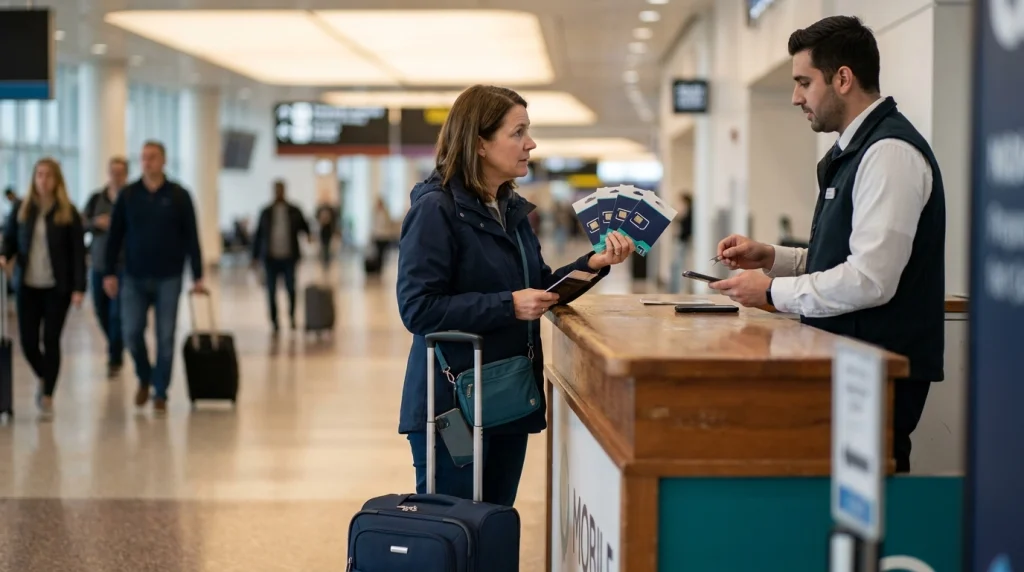
I prefer an official carrier counter or established mobile shop. Clear pricing and staff-assisted activation matter more to me than saving a tiny amount at an unknown kiosk.
If I’m arriving alone after dark, my priority is leaving the airport or station with reliable navigation. I don’t want my first task outside the terminal to be searching unfamiliar streets for mobile service.
Good places to consider
- Official airport carrier desk: Convenient when you need data immediately after landing.
- Carrier-owned city store: Useful when you want more plan choices or staff support.
- Authorized retailer: Reasonable if you can confirm that it officially represents the network.
- Local eSIM: Convenient when the country’s carriers support remote activation for visitors.
Airport plans aren’t automatically bad. The better question is whether the plan has enough data, suitable coverage, a clear expiry date, and transparent pricing.
Questions I ask before paying
- How much high-speed data is included?
- How many days does the plan remain active?
- Does it include local calls and SMS?
- Can I add more data later?
- Which network does the service use?
- Will staff activate and test it before I leave?
Be cautious when someone wants to take your unlocked phone out of sight. If staff need the phone for activation, stay present and keep your passcode private whenever possible.
Local SIM vs. eSIM vs. Roaming: Which Is Better?
A local SIM often gives travelers strong local-network access, while an eSIM is usually easier to prepare before arrival. Home-carrier roaming is simpler but can cost more depending on your plan.
| Option | Best for | Main advantage | Main drawback |
|---|---|---|---|
| Local physical SIM | Longer stays and travelers wanting local service | Often includes a local number and local carrier access | Requires a compatible unlocked phone and physical card handling |
| Local or travel eSIM | Fast setup and dual-line travelers | No physical card to swap or store | Some plans provide data only, with no local phone number |
| Home-carrier roaming | Short trips and maximum convenience | Keeps your normal number and familiar setup | International charges and data limits vary by carrier |
Apple’s current international eSIM guidance explains both carrier roaming and travel eSIM options for compatible iPhones.
If your device supports dual SIM, I usually prefer keeping my home line available while using the local line for mobile data. That gives me flexibility without depending on public Wi-Fi.
How Do You Activate a Local SIM Safely After Arrival?
Don’t leave the shop or airport counter until you’ve tested the connection. Activation is much easier to troubleshoot while the seller is still standing in front of you.
- Connect to trusted Wi-Fi if needed. Some activations require internet access before mobile data starts.
- Turn off unnecessary roaming on your home line. This helps reduce accidental international data use.
- Insert or install the new SIM. Follow the phone manufacturer’s instructions.
- Choose the local SIM for mobile data. Dual-SIM phones may ask which line handles data, calls, and texts.
- Restart the phone if required. Some networks need a fresh network registration.
- Test mobile data away from Wi-Fi. Open a map or webpage using cellular service only.
- Save the new number and plan details. Keep the carrier name, expiry date, balance method, and support contact.
Google’s dual-SIM instructions for Pixel phones show how compatible devices can assign separate SIMs to calls, texts, and mobile data.
Test the services you will rely on
- Google Maps or Apple Maps
- Your ride-hailing app
- WhatsApp, Signal, or another messaging service
- Your accommodation booking app
- Your translation app
- A normal browser search using mobile data
I also pin my accommodation before leaving the terminal. If anything goes wrong later, I still have a known destination saved on the phone.
Pro tip: Learn the local emergency number and save essential contacts before arrival. The State Department also recommends keeping backup communication information available if your main device becomes unusable.
How Can You Keep Your Home Number and Accounts Working?
Your biggest concern may not be data at all. It may be keeping access to the home number used by your bank, email account, airline, or other services.
Before swapping a physical SIM, identify which important accounts still send security codes by SMS. Don’t discover this problem while trying to approve a payment in another country.
Prepare your accounts before departure
- Set up an authenticator app where the service supports one.
- Save account recovery codes securely.
- Confirm your primary email recovery options.
- Check how your bank handles overseas verification.
- Know how to turn your home SIM back on if needed.
If your phone supports two active lines, you may be able to retain your home SIM while using the local SIM for data. The exact behavior depends on the phone, carrier, and plan.
Don’t assume receiving an SMS abroad is free. Check your home carrier’s international terms before keeping that line active.
Keep your original physical SIM safe
A removed home SIM is tiny and easy to lose. I store it in a labeled SIM holder rather than dropping it into a wallet pocket.
Keep it separate from loose coins, keys, and other objects. You don’t want to damage the card that reconnects you to your normal number after the trip.
What Should You Do If Your SIM or Phone Stops Working?
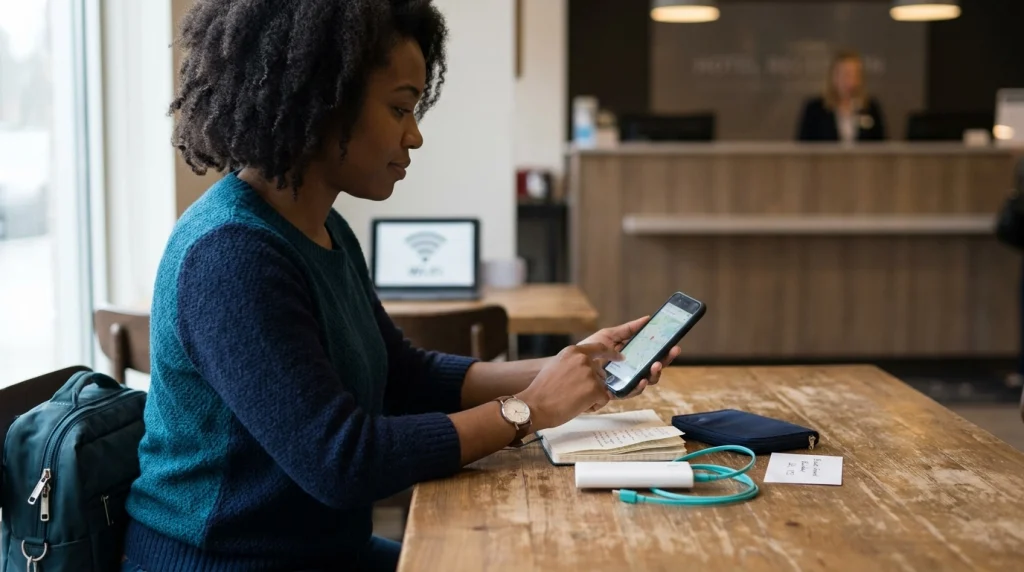
Have a no-signal plan before you need one. A local SIM should improve your independence, but it should never become your only way to navigate or contact someone.
If the local SIM has no data
- Turn mobile data off and back on.
- Check that the correct SIM is selected for data.
- Restart the phone.
- Confirm that the plan is active and has remaining data.
- Check the carrier’s required network settings.
- Move to another location in case the problem is weak coverage.
- Contact the carrier using trusted Wi-Fi if service remains unavailable.
Google notes that SIM setup problems may require help from the mobile carrier. That is another reason I prefer a recognizable provider over an unknown street seller.
If your phone is lost or stolen
Connectivity preparation should include device-loss preparation. Enable your phone’s device-finding feature, use a strong screen lock, and know how to contact your mobile providers.
- Keep your phone’s identifying information somewhere separate.
- Save important numbers outside the device.
- Keep offline copies of accommodation and transport details.
- Know how to remotely locate or secure your device.
- Carry a power bank or another charging option when appropriate.
The State Department’s international travel checklist also recommends organizing essential travel information and keeping backup copies accessible.
For me, the goal isn’t to stay online every second. It’s to avoid having one failed phone connection turn a manageable travel problem into a stressful one.
Frequently Asked Questions
Should a solo female traveler buy a SIM before leaving home?
You don’t always need to buy one before departure. Research the available carriers, phone compatibility, registration rules, and likely costs first, then decide whether an eSIM or an official local SIM after arrival is easier.
Is it safe to buy a SIM at the airport?
It can be. I prefer official carrier desks or clearly authorized retailers with posted plans and identifiable staff. Ask for the full price, data allowance, expiry date, and activation help before paying.
Do I need my passport to buy a local SIM?
That depends on the destination. Some countries require identity registration for prepaid mobile service, while others use different processes. Check official local rules and the carrier’s current requirements before traveling.
Will changing my SIM delete WhatsApp or my photos?
Changing a physical SIM does not normally erase photos or apps stored on your phone. However, messaging and account-verification behavior can depend on your registered number, so back up important information and understand your app settings first.
Can I keep my normal number while using a local SIM?
Often, yes, if your device and carriers support dual SIM or a combination of physical SIM and eSIM. You can potentially keep your home line available while assigning mobile data to the local line.
How much data does a solo traveler need?
It depends on your habits. Maps, messaging, ride apps, and browsing use far less data than frequent video streaming, cloud photo uploads, or hotspot use. Review your normal phone usage before choosing a plan.
What should I do if mobile service fails when I am alone?
Use your offline maps, saved accommodation details, trusted Wi-Fi, and backup contact information. If the problem is the SIM rather than general network coverage, contact the carrier or return to an official service location.
My final rule is simple: arrange connectivity before it becomes urgent. An unlocked phone, a sensible local plan, offline backups, and protected access to your home number make solo arrivals far easier to manage.
Prepare those pieces before departure, then test everything before leaving the airport or mobile shop. You’ll have one less uncertainty to handle while exploring somewhere new on your own.