How Can a Woman Choose a National Park for a Solo Trip?
Quick Answer
A woman choosing a national park for a solo trip should match the park to her outdoor experience, transportation options, trail difficulty, season, lodging, emergency access, and comfort with isolation. For a first solo park trip, I would start with a park that has developed trails, staffed visitor facilities, clear road access, and several backup activities rather than choosing the most remote destination. The National Park Service trip-planning tools are a good place to compare those basics before booking.
Use these five filters first
- Experience level: Pick trails and terrain you already have the skills to handle alone.
- Easy logistics: Check lodging, parking, road access, shuttles, food, fuel, and visitor-center locations.
- Trail options: Favor parks with several short and moderate routes instead of one must-do hike.
- Current conditions: Review weather, closures, wildlife guidance, fire conditions, and seasonal hazards.
- Backup plans: Choose a park where a closed trail or bad-weather day will not ruin the whole trip.
Choosing a national park for a solo trip is less about finding the “safest” park and more about finding one that fits your skills and comfort level.
For solo female travel, I would compare practical details before scenery. A beautiful park becomes a poor first choice if transportation is complicated, trails exceed your experience, or your itinerary depends on perfect weather.
In This Guide
- What makes a national park good for a solo trip?
- How do you match a park to your experience?
- What safety factors should you check before choosing?
- How important are transportation, lodging, and logistics?
- How do season, weather, and crowds change your choice?
- How can you compare your final park options?
- Frequently asked questions
- Final takeaway
What Makes a National Park Good for a Solo Trip?
A good solo national park is one where the difficulty of the trip matches your skills and where you have several ways to change your plan.
The biggest mistake is choosing entirely from photographs. Dramatic scenery tells you almost nothing about transportation, trail exposure, weather risks, or how isolated you may feel.
Start with your trip style
Before comparing parks, decide what you want your days to look like.
- Easy sightseeing: Scenic drives, overlooks, ranger programs, short walks, and established facilities.
- Day hiking: Several marked trails you can finish during daylight without technical equipment.
- Photography: Accessible viewpoints and flexible sunrise or sunset locations.
- Camping: Developed campgrounds with clear reservation rules and nearby services.
- Backcountry travel: Remote hiking or camping that requires stronger navigation and emergency-planning skills.
For a first solo park trip, I would keep the adventure one level easier than a trip I would attempt with an experienced partner.
That leaves room for wrong turns, unexpected heat, fatigue, parking delays, or a trail that feels different in person.
What does “solo-friendly national park” mean?
A solo-friendly national park is a park whose trails, transportation, facilities, conditions, and emergency planning requirements fit your individual skills and comfort level.
It does not mean nothing can go wrong. Outdoor travel always involves variables you cannot completely control.
- Can you reach the places you want without complicated navigation?
- Are there several trails within your ability?
- Can you change your itinerary without losing the whole day?
- Are food, fuel, water, and lodging practical?
- Can you finish your planned activities well before dark?
- Do you understand the park’s major environmental hazards?
If most answers are yes, the park probably fits your current solo-travel skill level better than one requiring several compromises.
Section Takeaway: Choose a park for the trip you can comfortably manage alone, not for the most impressive photograph.
How Do You Match a National Park to Your Experience?
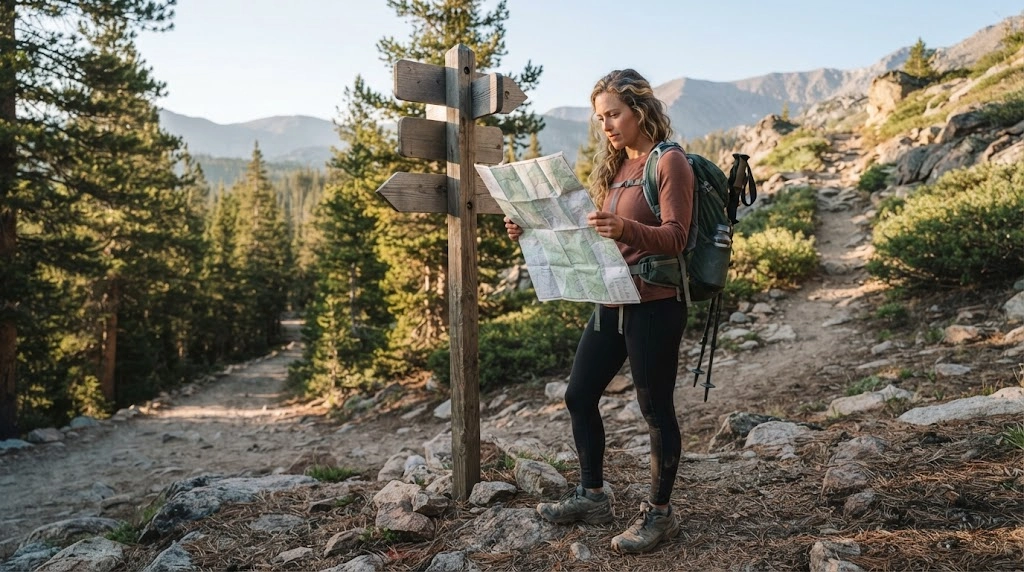
Match your park to the outdoor skills you already have. Your solo trip should not depend on learning several high-consequence skills after arrival.
The National Park Service advises hikers to consider fitness, hiking experience, terrain, elevation, weather, equipment, and whether they are traveling alone when selecting a route.
Use the “familiar plus one” rule
I like a simple planning approach: keep most of the trip familiar, then add one new challenge.
- If you hike regularly, try a new landscape.
- If you are new to hiking, choose familiar weather and easy trails.
- If you have never camped alone, use a developed campground instead of the backcountry.
- If high elevation is new to you, avoid combining it with your longest-ever hike.
- If you are driving unfamiliar mountain roads, make your hiking days shorter.
This prevents several small challenges from stacking into one exhausting day.
Look at trail choices, not one famous hike
A park becomes much easier to enjoy solo when it offers multiple routes at different difficulty levels.
Imagine arriving for a famous eight-mile hike and discovering thunderstorms are expected by early afternoon. A park with two-mile and four-mile alternatives gives you options.
A park with one major objective gives you pressure.
Check elevation and terrain
Distance alone does not describe hiking difficulty.
- Elevation gain: A short uphill trail may feel harder than a longer flat walk.
- Altitude: Higher elevations can affect people who are not acclimated.
- Exposure: Narrow trails near drop-offs may feel uncomfortable even when technically easy.
- Heat: Desert routes can become much harder as temperatures rise.
- Water crossings: Conditions can change with rain or snowmelt.
Read the park’s official trail descriptions instead of judging a hike from mileage alone.
Pro tip: Check the specific park’s official NPS page for trail alerts and current conditions before each hiking day.
Section Takeaway: The right park gives you challenges you understand, plus enough easier options to change plans without feeling that the trip failed.
What Safety Factors Should You Check Before Choosing?
Focus on environmental and logistical risks you can identify before booking. These usually matter more than vague online claims that one park “feels safe.”
The National Park Service hiking-safety guidance recommends planning around trail difficulty, weather, communication limits, equipment, daylight, wildlife, and current park alerts.
Check phone-service assumptions
Never select a remote hike because you assume your phone will work everywhere.
NPS specifically warns visitors not to rely on cellular coverage in national parks. Remote terrain can have weak or nonexistent service.
- Download offline maps before entering the park.
- Carry a charged battery bank.
- Know where ranger stations or visitor centers are located.
- Consider an appropriate satellite communication device for genuinely remote travel.
Leave a trip plan
A solo traveler should make it easy for someone else to notice when something has gone wrong.
NPS recommends leaving a written trip plan with a trusted contact. It can include your route, activity, expected return time, vehicle details, and backup plan.
You can review the official NPS Trip Plan guidance before departure.
Research the park’s actual hazards
Different parks demand different preparation.
- Desert parks: Heat, dehydration, sun exposure, and flash flooding may shape your day.
- Mountain parks: Altitude, fast-changing weather, snow, and exposed trails may matter more.
- Wildlife areas: Food storage and wildlife-distance rules become important.
- Coastal parks: Tides, slippery rocks, cold water, or rapidly changing marine weather may affect routes.
- Forested parks: Storms, insects, poor visibility, and navigation can become bigger concerns.
You do not need a park with zero hazards. You need hazards you understand and know how to manage.
Check your daylight margin
I would avoid building a first solo itinerary around finishing a difficult hike close to sunset.
Give yourself a generous turnaround time. Parking delays, photo stops, route finding, and fatigue can all extend a day.
Pro tip: Weather, fire, wildlife, road, and trail conditions can change quickly. Verify alerts on the individual park’s official website immediately before your activity.
Section Takeaway: Solo safety comes from matching known risks to your preparation, then creating room for conditions to change.
How Important Are Transportation, Lodging, and Logistics?
Logistics can determine whether a park feels relaxed or stressful when you are alone. I would rank them almost as highly as trail choice.
A park may be perfect on paper but frustrating if you must drive long distances after hiking, hunt for parking, or change lodging every night.
Start with where you will sleep
Check lodging before building your hiking itinerary.
- How far is your accommodation from the entrance you will use?
- Will you drive unfamiliar roads after dark?
- Can you buy food nearby?
- Is fuel available along your route?
- Do you have to pack up every morning?
Staying in one location for two or three nights often simplifies a solo trip.
You spend less time moving luggage and more time enjoying the park.
Check whether you need a car
Some trips are straightforward with a personal vehicle. Others may involve seasonal shuttles, restricted roads, limited parking, or long drives between attractions.
Read the official transportation page for the exact park before assuming you can simply drive to every trailhead.
Look for visitor infrastructure
First-time solo travelers may feel more comfortable in a park with established frontcountry facilities.
- Staffed visitor center
- Clearly marked trailheads
- Developed campgrounds
- Restrooms and water access
- Ranger programs
- Several popular day-use areas
None of these guarantees safety. They simply reduce the number of logistical problems you must solve alone.
Check reservations before buying flights
Some high-demand park experiences require reservations, permits, camping bookings, shuttle tickets, or timed entry during certain seasons.
For example, Rocky Mountain National Park uses timed-entry reservations during specified 2026 dates and hours, showing why current rules matter more than an old blog post.
Search Recreation.gov and the park’s official NPS page before committing to transportation or lodging.
Section Takeaway: The easier your transportation and lodging are, the more energy you can spend on the experience instead of solving avoidable problems.
How Do Season, Weather, and Crowds Change Your Choice?
The same national park can feel like a completely different destination in another month.
Before choosing, compare seasonal road access, temperatures, daylight, precipitation, trail conditions, crowds, and accommodation availability.
Do not choose by average temperature alone
A pleasant daytime average can hide cold mornings, strong winds, afternoon storms, or rapid temperature changes.
Check the forecast through National Weather Service resources close to departure and read the park’s seasonal guidance.
Think about daylight
Long summer days give you more flexibility when hiking alone.
Shorter autumn or winter days may require earlier starts and shorter routes.
- Note local sunrise and sunset times.
- Set a turnaround time before starting a trail.
- Carry a headlamp even for a planned day hike.
- Keep a shorter backup trail ready.
Crowds have advantages and disadvantages
A quieter park can sound ideal, but complete isolation may not be what you want on your first solo trip.
Moderately busy trails can feel reassuring, while extreme crowds can create parking and shuttle problems.
I would look for balance: established routes and active facilities without designing every day around the park’s busiest attraction.
Build a bad-weather day
A good park choice should still offer something worthwhile if hiking conditions deteriorate.
- Scenic drives
- Short nature trails
- Visitor-center exhibits
- Historic sites
- Ranger-led activities
- Nearby towns or indoor attractions
The NPS trip-planning guidance also recommends checking alerts and having a backup plan when conditions are unsuitable.
Section Takeaway: Choose the park and the season together. A destination that fits you in September may be a poor match in February.
How Can You Compare Your Final National Park Options?
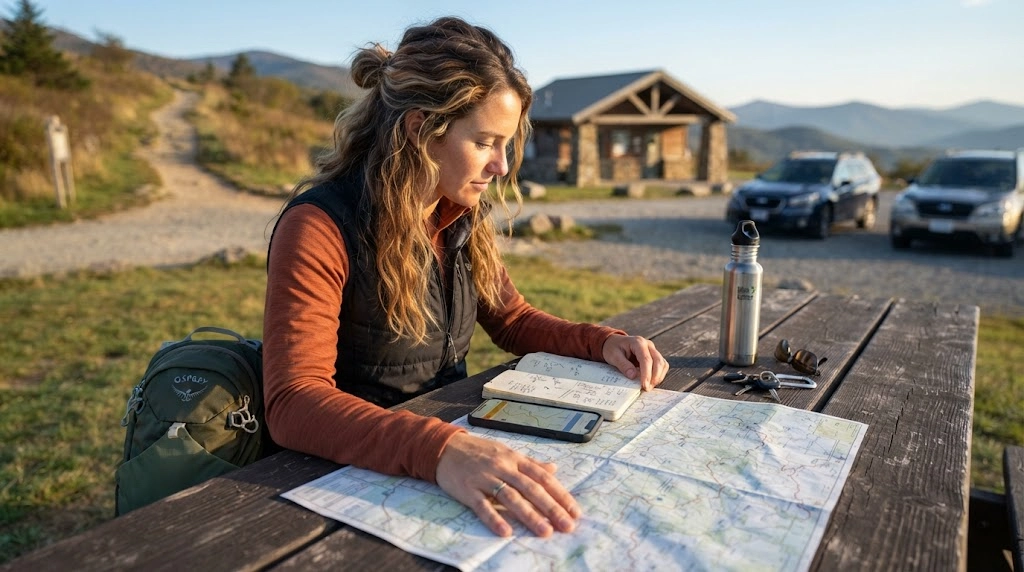
Once you have two or three candidates, score them using the same practical questions.
Do not let one spectacular feature outweigh five logistical problems.
| Trip factor | Beginner-friendly profile | More demanding profile |
|---|---|---|
| Daily hiking | Several routes around 1–6 miles | Long routes dominate your itinerary |
| Navigation | Clearly marked established trails | Remote or backcountry navigation required |
| Facilities | Visitor centers and developed day-use areas | Few services once you leave the entrance area |
| Accommodation | One base for 2–3 nights | Frequent moves or remote camping |
| Backup options | Several shorter activities available | Trip depends on one major hike or route |
| Emergency planning | Frontcountry day trips with a clear trip plan | Extended remote travel and limited communication |
Use a five-question final test
- Can I handle the main activities comfortably without another person?
- Do I have at least two backup activities for weather or closures?
- Can I reach my lodging without stressful late-night driving?
- Do I understand the park’s main environmental hazards?
- Would I still enjoy this trip if I skipped the hardest hike?
If the answer to the last question is no, reconsider the park or redesign the itinerary.
Solo trips are more enjoyable when success does not depend on completing one demanding objective.
My preferred first-trip pattern
For a first solo national park visit, a simple three-day structure works well.
- Day 1: Arrive in daylight, visit the visitor center, take a short trail, and learn the road system.
- Day 2: Complete your main hike early, with a preset turnaround time.
- Day 3: Choose a flexible scenic drive, moderate trail, ranger activity, or backup hike before leaving.
This gives you time to understand the park before attempting your biggest activity.
It also prevents one bad-weather day from consuming the entire visit.
Section Takeaway: The best choice is usually the park that gives you several good days, not the park with one irresistible hike.
Frequently Asked Questions
What is the best type of national park for a first solo female trip?
A first solo trip is usually easier in a park with established day hikes, clear road access, staffed visitor facilities, nearby lodging, and several backup activities. Choose terrain and weather you already understand rather than combining remote travel with unfamiliar outdoor skills.
Is hiking alone in a national park safe?
Solo hiking involves added responsibility because you do not have a companion to help with navigation, injury, or emergencies. Choose an appropriate route, check official alerts and weather, carry essential gear, and leave a detailed trip plan with someone you trust.
Should I choose a busy national park if I am traveling alone?
Not necessarily. Moderate visitor activity can be reassuring, but extreme crowds may mean parking delays and reservation problems. Look for a park with developed facilities and established trails, then explore outside the busiest locations when conditions allow.
How many days should I spend on my first solo national park trip?
Two to four days is a practical starting point for many first trips. It gives you time to learn the park, complete a main activity, and use a backup day if weather or trail conditions change.
Do I need a satellite communicator for a solo national park trip?
It depends on where you are going. A frontcountry trip near developed facilities differs from remote backcountry travel. Do not assume cellular service will be available; assess the specific route, communication coverage, and consequences of an emergency before deciding what equipment you need.
Should I camp alone on my first national park trip?
You can choose a developed campground if camping already feels familiar. If you have never camped independently, combining your first solo trip with your first remote backcountry camp creates several new challenges at once. Starting with lodging or a developed campground can simplify the experience.
What should I check immediately before entering a national park?
Review current park alerts, weather, trail and road closures, permit or reservation requirements, wildlife guidance, and your return time. Confirm that your trusted contact has your itinerary, then adjust your plan if conditions differ from what you expected.
Final Takeaway
So, how can a woman choose a national park for a solo trip? Start with herself rather than the park.
Choose a destination that matches your hiking ability, driving confidence, preferred level of solitude, accommodation needs, and experience with the park’s terrain and weather.
- Pick manageable trails.
- Keep logistics simple.
- Research current hazards.
- Leave a trip plan.
- Download essential information before losing service.
- Keep at least one easier backup day.
You do not need to prove anything by choosing the hardest or most remote park.
A well-matched park gives you enough challenge to feel adventurous and enough flexibility to make thoughtful decisions when plans change.