How Can a Solo Female Traveler Choose a Destination for Photography?
Quick Answer
A solo female traveler should choose a photography destination by balancing visual opportunities with safety, access, light, transportation, local photography rules, budget, and her comfort traveling alone. Before booking, I compare several destinations and review current travel conditions through an official source such as international travel guidance.
A simple photography-destination checklist
- Define your subjects: Decide whether you mainly want landscapes, street scenes, architecture, wildlife, portraits, food, or night photography.
- Check solo logistics: Make sure you can reach important photo locations without depending on unsafe or unreliable transport.
- Study the light: Research sunrise, sunset, weather, season, and whether your preferred locations work during good shooting hours.
- Research photography rules: Check restrictions involving tripods, drones, religious buildings, government sites, people, and commercial photography.
- Plan equipment carefully: Consider how comfortably you can carry, protect, charge, and store your camera gear while alone.
- Choose manageable conditions: A destination with slightly fewer famous shots may be better if you can explore it confidently and stay out during the best light.
My deciding question
- Ask yourself whether you would still feel comfortable reaching your chosen photo location before sunrise or returning shortly after sunset.
If you’re wondering how a solo female traveler can choose a destination for photography, don’t begin with Instagram’s most photographed locations. Start with the photographs you want to make and the conditions you’ll need to make them.
I’ve found that a beautiful destination can become frustrating when transport, safety, crowds, weather, or photography restrictions work against me. In this guide, I’ll show you how I narrow the choices before I book.
In This Guide
- What Makes a Good Photography Destination for a Solo Woman?
- How Do You Match a Destination to Your Photography Style?
- How Should Safety Affect Your Photography Destination Choice?
- How Do Light, Weather, and Season Change the Decision?
- What Photography Rules and Gear Issues Should You Research?
- How Can You Compare Photography Destinations Before Booking?
- Photography Trip FAQ for Solo Female Travelers
What Makes a Good Photography Destination for a Solo Woman?
A good photography destination gives you strong subjects without making every photograph difficult to reach. For a woman traveling alone, access and confidence matter almost as much as scenery.
A photography-focused solo trip is a trip where your shooting goals influence when you travel, where you stay, how you move around, and how you structure each day.
That makes destination selection different from choosing an ordinary vacation.
- Interesting subjects: The destination has enough subjects that fit your visual interests.
- Practical access: You can reach locations using transport you feel comfortable taking alone.
- Good shooting windows: Important locations can be visited during useful light without unreasonable risk.
- Manageable distances: You won’t spend most of the trip moving between distant photo spots.
- Secure accommodation: Your lodging gives you a practical place to store equipment and return after shooting.
- Backup options: You have indoor or alternative subjects when rain, closures, crowds, or fatigue change your plan.
I learned to pay special attention to early mornings. A famous sunrise viewpoint means little to me if reaching it requires walking through an unfamiliar isolated area at 4:30 a.m.
Sometimes I’ll photograph that location later instead. Other times, I’ll choose a hotel closer to the shooting area or arrange trusted transportation.
Think about an ordinary photography day
Imagine the destination at 6:00 a.m., not only at midday. Then imagine yourself carrying your camera home after sunset.
Walk through these moments before booking:
- Leaving your accommodation before sunrise.
- Getting to the first shooting location.
- Carrying your equipment for several hours.
- Finding somewhere safe to rest and eat.
- Changing locations during the afternoon.
- Shooting around sunset or blue hour.
- Returning to your accommodation after dark.
If that imaginary day already feels complicated, another destination may give you a better photography trip.
Section Takeaway: The best photography destination isn’t necessarily the place with the most famous views. It’s the place where you can repeatedly reach good subjects under conditions that work for you.
How Do You Match a Destination to Your Photography Style?
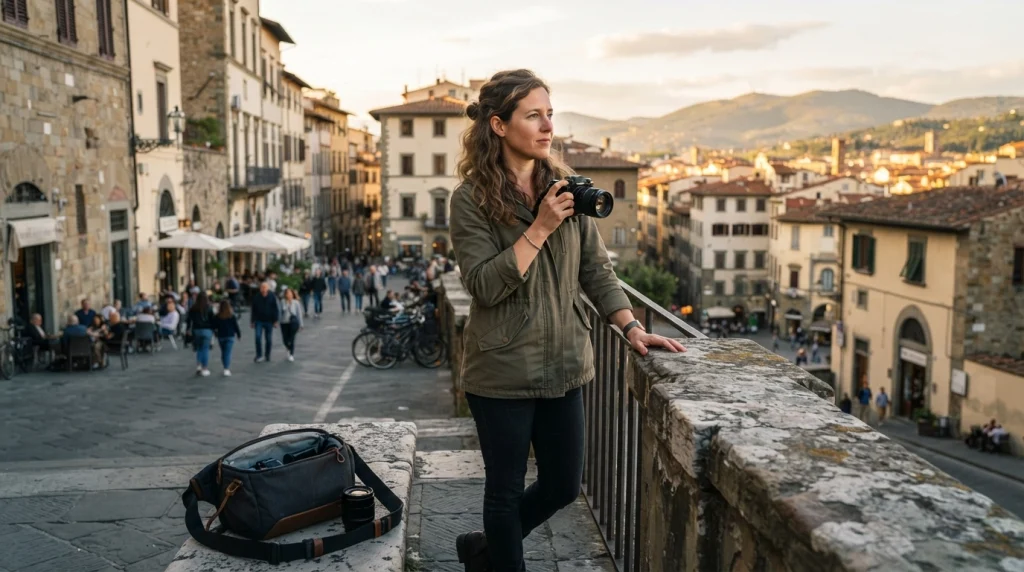
Choose your photography subjects before choosing your country or city. This single decision removes many destinations that look appealing but don’t fit your creative goals.
I normally write down my top two photography priorities. I don’t try to build one trip around every possible genre.
If you love street photography
Look for walkable neighborhoods, public markets, street life, public transportation, cafés, festivals, and changing neighborhoods. Research local attitudes toward photographing strangers before you go.
Dense cities can offer hundreds of scenes within a small radius. That can also reduce the amount of equipment and transportation you need.
If you prefer landscapes
Access becomes more important. Research trail difficulty, park opening times, road conditions, weather, local guides, and transportation to trailheads.
Also check whether the best viewpoints require hiking alone before dawn. A spectacular landscape may demand more logistical planning than an urban photography trip.
If architecture is your priority
Look beyond landmark lists. Research historic neighborhoods, modern districts, interiors, museums, bridges, stations, religious buildings, and rooftop viewpoints.
Opening hours matter too. Interior photography may have separate rules for cameras, tripods, flashes, or professional-looking equipment.
If you want wildlife photography
Research reputable guided experiences instead of assuming wildlife areas are suitable for independent exploration. Wildlife photography often involves remote areas, expensive lenses, and early starts.
The destination also needs the species you want during your travel season. Migration and breeding periods can completely change your opportunities.
If you enjoy travel portraits
Consider cultural expectations around asking permission and photographing adults or children. A technically legal photograph can still feel disrespectful if local norms discourage it.
- Learn a polite way to ask permission.
- Respect a clear refusal immediately.
- Avoid treating religious ceremonies as performances.
- Don’t photograph children casually without appropriate consent.
- Research special restrictions at culturally sensitive sites.
My favorite trips usually have one primary subject and one backup subject. For example, I might plan around architecture while using food and street details when harsh midday light makes buildings difficult to photograph.
Section Takeaway: Start with what you want to photograph, then find destinations that repeatedly offer that subject. Don’t choose a destination first and hope the photography works afterward.
How Should Safety Affect Your Photography Destination Choice?
Safety should shape when, where, and how you photograph rather than being reduced to a simple “safe” or “unsafe” label. Current conditions can also vary by neighborhood and time of day.
As of 2026, I recommend checking official destination guidance shortly before booking and again before departure. The U.S. State Department also maintains specific guidance for women travelers.
Pro tip: Always verify current advisories, local laws, transport conditions, and emergency information through official government or destination sources before traveling.
Photography changes your normal safety pattern
Photography can distract you. You may watch the frame instead of the people around you, carry expensive equipment, or remain outside during quieter hours.
That means I research situations that an ordinary sightseeing guide may barely mention.
- Pre-dawn access: Can I reach sunrise locations without an isolated walk?
- After-dark transport: Is there a practical way back after sunset?
- Equipment visibility: Will I spend hours displaying expensive gear in crowded areas?
- Phone access: Will I have mobile data for maps and transport?
- Accommodation location: Am I close enough to my main photography area?
- Emergency options: Do I know how to contact local emergency services?
Don’t judge safety at country level alone
A destination may contain neighborhoods with completely different transport, crowd, lighting, and nighttime conditions. Research the exact areas around your accommodation and planned photography spots.
I also look at the route between them. A safe attraction doesn’t automatically create a comfortable journey home.
Choose accommodation for photography logistics
When photography is the purpose of my trip, I sometimes pay more to stay closer to my main shooting area. That can reduce late-night transfers and make early starts easier.
I prioritize:
- Reliable transport nearby.
- Secure building access.
- A room or locker arrangement suitable for camera equipment.
- A well-reviewed surrounding area.
- Reception or support when practical.
- Reasonable distance from my main shooting locations.
You can also review the State Department’s broader international travel planning guidance while comparing destinations.
Section Takeaway: Photography often puts you outside at unusual hours while carrying visible equipment. Choose a destination where you can manage those extra risks without sacrificing the entire reason for the trip.
How Do Light, Weather, and Season Change the Decision?
A destination can be perfect for photography in one month and disappointing in another. Season affects light, weather, crowds, vegetation, wildlife, visibility, operating hours, and price.
That’s why I research the month, not just the destination.
Check sunrise and sunset times
Sunrise and sunset determine your daily schedule. They also affect whether the best shooting hours fit practical transportation and personal comfort.
A 5:00 a.m. sunrise creates a different solo-travel problem from a 7:30 a.m. sunrise.
- Check sunrise and sunset times for your actual dates.
- See when public transportation starts and stops.
- Compare those times with attraction opening hours.
- Check whether viewpoints have access restrictions.
- Estimate how long you’ll need to return after blue hour.
Research the kind of weather your photographs need
“Good weather” doesn’t always mean cloudless skies. Landscape photographers may want dramatic clouds, while astrophotographers need clearer nights.
Street photographers may even enjoy rain because reflections, umbrellas, and artificial light can create stronger scenes.
Think about crowds
Peak season usually means more people around famous locations. That can be reassuring in some situations but frustrating for clean architectural compositions.
Shoulder season can offer a useful compromise between manageable weather and smaller crowds.
Give yourself a weather backup
I never want one cloudy morning to ruin an entire photography trip. A destination with several subject types gives me more flexibility.
Useful backup options include:
- Museums that permit photography.
- Covered markets.
- Historic interiors.
- Train stations.
- Cafés and food photography.
- Street details.
- Night scenes after rain.
For international trips, I also check destination-specific health considerations through the CDC Travelers’ Health resources when climate or seasonal health risks may affect my plans.
Section Takeaway: Don’t ask only whether a destination is photogenic. Ask whether it will be photogenic during your exact travel dates and whether the best light fits your solo-travel logistics.
What Photography Rules and Gear Issues Should You Research?
Research photography rules before buying flights. Restrictions can affect drones, tripods, museums, religious buildings, protected areas, government sites, and photographs of people.
Never assume rules from one country apply in another.
Check what you can legally photograph
Government buildings, airports, military facilities, border areas, and transportation infrastructure may receive special scrutiny in some destinations. Rules vary widely.
Religious and cultural sites may also prohibit photography or restrict it to certain areas.
- Check the destination’s official tourism information.
- Read local laws relating to photography.
- Confirm museum and monument camera policies.
- Check whether tripods require permission.
- Research privacy expectations before street portraits.
- Verify drone rules through the relevant aviation authority.
Drones need separate research
A drone-friendly photograph online doesn’t prove you can legally make the same shot today. Registration, permits, no-fly zones, insurance, airport rules, and protected-area regulations may apply.
I wouldn’t select an entire destination around drone photography until I had verified the current rules through official aviation sources.
Think about how much gear you’ll carry alone
More lenses don’t automatically create better travel photographs. Heavy equipment can slow you down and make ordinary transport more tiring.
For most trips, I ask what equipment I will genuinely use.
- One main camera body.
- One or two useful lenses.
- Enough memory cards.
- Spare batteries.
- A compact charger.
- A small cleaning kit.
- Weather protection when needed.
- A comfortable camera bag without unnecessary bulk.
I also check electrical outlets, voltage requirements, battery availability, and whether my accommodation has a practical charging setup.
Plan your equipment backup
Losing a camera is bad. Losing your camera and every photograph from the trip is worse.
I prefer a simple backup routine rather than carrying complicated technology I won’t use.
- Use multiple memory cards rather than relying on one.
- Keep filled cards separate from empty cards.
- Back up files to a laptop, portable storage, or cloud service when practical.
- Keep serial numbers and insurance information accessible.
- Store one backup separately from the main camera bag when possible.
Section Takeaway: A destination only works for photography if you can legally make the images and practically manage your equipment. Research both before committing money to the trip.
How Can You Compare Photography Destinations Before Booking?
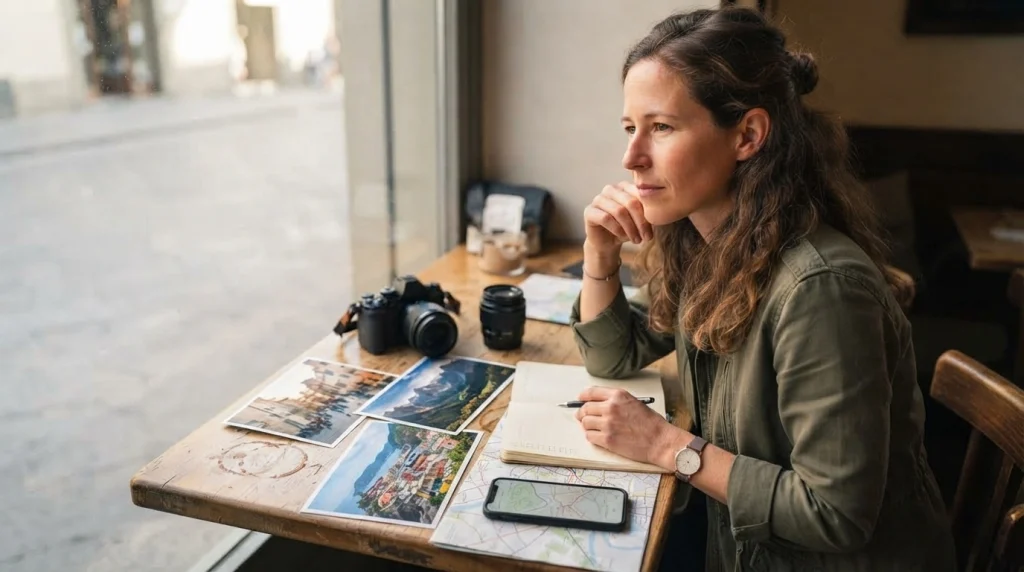
Use the same criteria for every destination instead of comparing beautiful photos emotionally. I narrow my list to three candidates and score the practical differences.
The table below shows the type of comparison I use.
| Factor | City Photography Trip | Landscape Photography Trip | Mixed Destination |
|---|---|---|---|
| Main subjects | Street life, architecture, food, night scenes | Mountains, coastlines, forests, waterfalls | Urban scenes plus nearby nature |
| Transport needs | Often public transit and walking | May require car, tour, guide, or trail access | Usually a combination |
| Early-morning logistics | Accommodation location matters most | Trailhead and road access matter most | Varies by shooting day |
| Typical gear load | Light to moderate | Moderate to heavy | Moderate |
| Weather backup | Often strong | May be limited | Usually strong |
| Best fit | Travelers who enjoy independent exploration | Travelers comfortable planning remote access | Travelers wanting variety and backup options |
Use a seven-point destination test
Once I have three destinations left, I compare each one against the same questions.
- Subject: Does it offer enough of what I want to photograph?
- Safety: Can I reach the important locations in ways I’m comfortable with?
- Light: Can I photograph during sunrise, sunset, or other useful periods?
- Season: Will the weather and conditions suit my subjects?
- Access: Are photography locations close enough to build realistic days?
- Rules: Are my intended photography methods permitted?
- Budget: Can I afford the transport and accommodation needed to make the photography practical?
Calculate the photography budget, not just the travel budget
A cheap destination can become expensive when every sunrise location requires a private transfer. Include photography-specific costs from the beginning.
- Local guides or photo tours.
- National park or monument fees.
- Special photography permits.
- Trusted early-morning transportation.
- Extra luggage fees for equipment.
- Equipment insurance.
- Weather protection.
- Storage or backup devices.
I would rather spend slightly more on a destination where I can photograph efficiently than save money and lose hours solving transportation problems.
Leave room for unplanned photographs
Photography trips can become too rigid. If every hour depends on a famous viewpoint, you stop noticing what’s around you.
I normally give myself one main location for sunrise or sunset and leave part of the day flexible.
Some of my most memorable travel photographs have come from ordinary walks between planned locations. Those moments don’t appear on shot lists.
Section Takeaway: Compare destinations using the same practical criteria. The strongest choice is the place where your creative goals, solo-travel comfort, time, and budget can work together.
Photography Trip FAQ for Solo Female Travelers
What is the best type of destination for a first solo photography trip?
A walkable city or compact destination can be easier for a first photography trip because you may need fewer transfers and less equipment. Choose somewhere with several subjects close to your accommodation and reliable transport for early or late shooting.
Should I choose a famous photography destination?
Not necessarily. Famous locations provide recognizable subjects but can bring crowds, higher prices, and stricter photography rules. A less famous destination may offer more freedom, easier logistics, and photographs that feel more personal.
Is street photography safe for a woman traveling alone?
Street photography can be practical in many destinations, but conditions differ by neighborhood, time, and local culture. Stay aware of your surroundings, research local norms, avoid becoming absorbed in your screen, and verify current destination guidance before traveling.
How much camera equipment should I take on a solo trip?
Take the smallest kit that covers your main subjects comfortably. For many travelers, one camera body and one or two useful lenses are easier to manage than a heavy bag filled with equipment that rarely leaves the hotel.
Should I bring a tripod when traveling alone?
Bring one only when your photography needs it. Research tripod restrictions first because museums, monuments, observation decks, and crowded public locations may limit their use. A compact tripod can also be easier to carry during long solo days.
How do I plan sunrise photography when traveling alone?
Research the entire route before the shooting day. Check transport availability, walking conditions, opening hours, weather, and the route back. If reaching the location requires an isolated pre-dawn journey, consider nearby accommodation, trusted transportation, a guide, or a different shooting time.
What should I check before photographing people abroad?
Research local privacy laws and cultural expectations, especially around children, religious settings, ceremonies, and traditional communities. When appropriate, ask permission clearly and respect refusals without trying to persuade the person.
Choose a Destination Where You Can Make the Photographs You Want
A solo photography trip works best when the destination supports both your creative plans and your independence. Beautiful scenery alone isn’t enough.
Start by choosing your photography style, then compare safety, access, light, season, local rules, transportation, gear needs, and total cost.
- Know what you want to photograph.
- Research how you’ll reach those subjects.
- Check sunrise and sunset logistics.
- Verify local photography and drone rules.
- Study current travel conditions.
- Choose accommodation around your shooting plan.
- Build backup subjects into the itinerary.
Most importantly, choose a destination where you’re excited to explore without needing to push yourself into situations that feel unnecessarily difficult.
Your strongest travel photographs rarely come from checking off the most famous viewpoint. They come when you have enough time, confidence, and curiosity to pay attention to what is happening around you.