How Can a Solo Female Traveler Choose a Destination for Hiking Alone?
Quick Answer
A solo female traveler should choose a hiking destination with well-marked trails, reliable transport, manageable terrain, predictable weather, and a clear emergency plan. For a first solo hike, I would favor a popular day-hiking area with official trail information over isolated backcountry, while also checking current mountain safety guidance before leaving.
Start With These Checks
- Trail visibility: Pick maintained, signed routes with current maps and obvious junction markers.
- Emergency access: Know the local emergency number, nearest ranger station, and realistic rescue options.
- Route difficulty: Choose distance, elevation gain, terrain, and altitude that match your current experience.
- Transport plan: Make sure you can reach and leave the trailhead without depending on unreliable last-minute transport.
- Weather exposure: Avoid destinations where a routine day hike can quickly become technical because of snow, heat, storms, or river crossings.
- Communication backup: Never assume your phone will have service throughout a mountain or wilderness route.
My Simple Rule
- If several important details still depend on luck, I choose another destination.
Choosing where to hike alone is different from choosing a normal vacation destination. I care less about how dramatic a trail looks online and more about how easily I can manage problems without another person beside me.
For solo female travelers, that means looking at trail design, transport, weather, communication, personal security, and rescue access together. This guide shows exactly how I narrow those factors into a destination I can feel comfortable hiking alone.
In This Guide
What Makes a Destination Good for Solo Hiking?
A good solo hiking destination is one where the environment gives you several layers of backup. I look for maintained trails, straightforward navigation, predictable logistics, and enough other hikers or staff nearby that an ordinary problem does not become an emergency.
Definition: A solo-hiking-friendly destination is a hiking area where one traveler can reasonably navigate the route, reach help, manage expected hazards, and return safely without depending on another member of a hiking group.
Start with the trail system, not the scenery
Beautiful photos can hide awkward logistics. A dramatic viewpoint means little if reaching it requires an unmarked trail, an unreliable ride, or a river crossing you did not expect.
I first investigate how the hiking area operates. Organized trail networks are usually easier to evaluate than isolated routes described only in blogs or social posts.
- Official information: Look for a park authority, tourism office, ranger service, or established trail organization.
- Current maps: Confirm that routes, junctions, closures, and trailheads are clearly documented.
- Popular routes: A trail does not need to be crowded, but regular foot traffic creates another layer of backup.
- Multiple route lengths: A destination with shorter alternatives gives you options if conditions change.
- Clear turnaround points: You should know where you can shorten the hike without improvising a new route.
Think about personal security separately from wilderness risk
A trail can be technically easy yet create uncomfortable logistics before or after the hike. An isolated parking area at 5:30 a.m. presents a different problem from steep terrain at midday.
I look at the entire door-to-door journey. That includes the neighborhood around my accommodation, transport to the trailhead, hiking hours, and the return trip.
- Can I start after sunrise instead of walking through an unfamiliar area in darkness?
- Can a licensed taxi, shuttle, bus, or accommodation transfer reach the trailhead?
- Will I finish before public transport stops?
- Is the trailhead commonly used by day hikers?
- Can I change plans without becoming stranded?
The goal is not to find a destination with zero risk. No hiking destination can offer that.
I want risks that are visible, understandable, and manageable before I put on my boots.
Section Takeaway: Choose hiking infrastructure before Instagram scenery. A destination becomes easier to handle alone when routes, transport, alternatives, and emergency procedures are already clear.
How Safe Is the Trail Infrastructure?
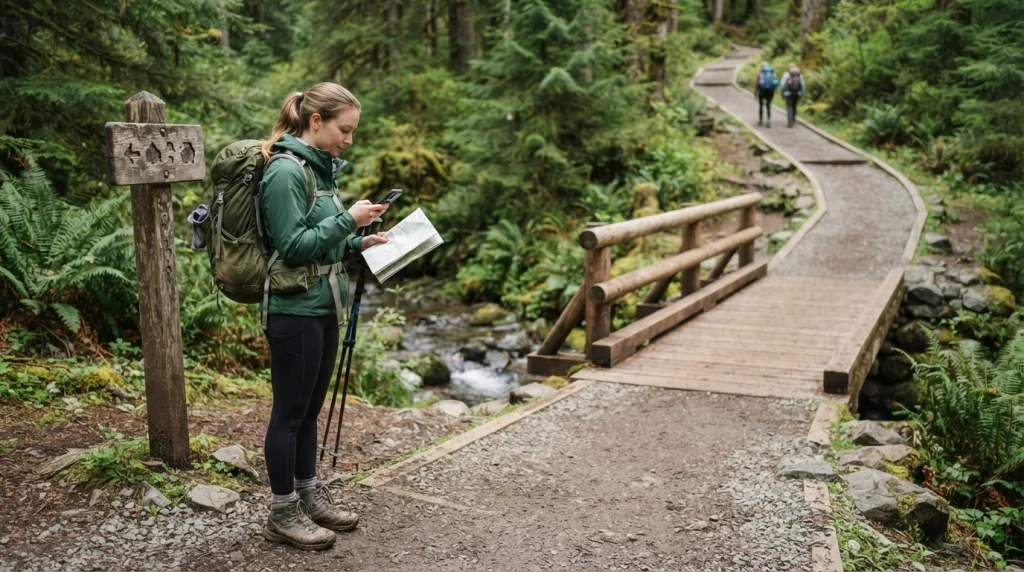
Trail infrastructure tells me how many decisions I will need to make while tired. For solo hiking, fewer uncertain decisions usually make the day easier to manage.
The U.S. National Park Service advises hikers to plan for the specific environment, judge whether a hike matches their fitness, and take extra precautions when hiking alone. Its Hike Smart guidance is a useful checklist even when your trip is outside the United States.
Look for signs of an actively managed trail
I prefer routes where management is visible. That might mean numbered junctions, distance markers, ranger posts, maintained bridges, established viewpoints, or official closure notices.
- Marked junctions: You should know which direction continues your planned route.
- Defined trailhead: The route should have an obvious official starting point.
- Recent condition reports: Check for closures, storm damage, snow, fire, landslides, or maintenance notices.
- Emergency information: Know who manages the area and how visitors request help.
- Exit options: Understand whether shorter routes or alternate exits exist.
Do not treat mobile signal as safety infrastructure
Mountain terrain can block cellular service even near developed towns. I download my route before leaving and keep enough battery for navigation and emergency communication.
I also send someone my planned trail, start time, estimated finish, and check-in time. If I change routes, I update that person before entering an area without reception.
Use a destination screening score
I use a simple scoring method when two hiking destinations both look attractive. It stops me from choosing based only on excitement.
| Factor | 0 Points | 1 Point | 2 Points |
|---|---|---|---|
| Trail marking | Unmarked or unclear | Some signs | Clearly marked throughout |
| Trail traffic | Usually isolated | Occasional hikers | Regular day hikers |
| Transport | Uncertain ride needed | One practical option | Several reliable options |
| Emergency support | Unclear | Known but distant | Clear local response system |
| Route alternatives | No easy exit | One shorter option | Several clear alternatives |
A score of 8–10 does not guarantee safety. I use it only as a planning filter that forces me to examine practical details.
If a destination scores poorly because of isolation, uncertain transport, and weak emergency access, I save it for a guided trip or a more experienced hiking partner.
Section Takeaway: Good infrastructure reduces the number of problems you must solve alone. Clear trails, exit options, transport, and emergency information matter more than a destination’s popularity.
How Difficult and Remote Is the Hike?
Distance alone does not tell you whether a route suits solo hiking. A 6-mile maintained valley trail can be simpler than a 3-mile scramble with exposed rock and confusing navigation.
I judge physical difficulty and consequence separately. A tiring hike can still be manageable, while one navigation mistake near cliffs or fast water can carry much greater consequences.
Check more than mileage
- Total distance: Include side trips and the walk between transport and the official trailhead.
- Elevation gain: Continuous climbing can slow your normal walking pace considerably.
- Surface: Mud, scree, loose rock, roots, sand, and snow change difficulty.
- Exposure: Look for cliffs, narrow ridges, ladders, chains, and steep drop-offs.
- Water crossings: Ask whether bridges exist and whether streams rise after rain.
- Navigation: A faint wilderness track demands more skill than a signed park trail.
- Technical sections: Determine whether hands-on scrambling or specialist equipment is expected.
Match the destination to the skills you already have
I do not use a solo hike as the day to discover whether I am comfortable with exposed ridges. New scenery is enough novelty.
When hiking alone, I prefer familiar types of terrain. I can always build toward harder conditions on shorter routes or with another experienced hiker.
Be conservative with altitude
High elevation deserves separate planning because fitness does not eliminate altitude illness. The CDC notes that unacclimatized travelers can face altitude illness beginning around 8,000 feet, or roughly 2,450 meters.
Before choosing a high-altitude destination, I review the CDC’s high-altitude travel guidance and allow time to acclimatize rather than scheduling my hardest hike immediately after arrival.
If headache, nausea, unusual fatigue, or other altitude symptoms appear, continuing higher is not something I try to push through. High-altitude trips need an easier descent plan.
Pro tip: Health guidance changes, and personal medical factors matter. Check current CDC travel-health information and speak with an appropriate healthcare professional when altitude or other health risks affect your itinerary.
Think about consequence, not confidence
Feeling confident is useful, but it does not change the consequences of a mistake. I ask what happens if I twist an ankle two hours from the trailhead.
If the answer involves an unmarked route, no phone service, no passing hikers, and complicated rescue access, that destination may not fit my solo plan.
Section Takeaway: Choose terrain you already know how to handle. Difficulty comes from elevation, surface, exposure, navigation, altitude, and remoteness—not mileage alone.
What Logistics Should You Check Before Choosing?
A hiking destination can look ideal until you examine how the day starts and ends. Transport and accommodation problems are some of the easiest risks to identify before booking.
Build the day from your accommodation outward
I work backward from the time I want to finish hiking. This reveals whether the destination requires an unrealistic start or leaves too little daylight.
- Choose a comfortable finish time. Leave a large buffer before darkness.
- Estimate your hiking time conservatively. Include breaks, photos, route checks, and slower terrain.
- Add transport time. Include delays at both ends of the hike.
- Check the first available transport. Make sure reaching the trail does not require improvisation.
- Create a backup return. Know what you will do if the hike takes longer than expected.
Look closely at one-way hikes
Point-to-point routes can be fantastic, but they create transport dependence. Missing one bus or shuttle can turn a normal delay into a major problem.
For my first hike in an unfamiliar destination, I usually prefer a loop or out-and-back route. Both make the return logistics easier to control.
Choose accommodation that supports the hiking plan
The cheapest room is not always the best base. I consider the cost of getting from that room to trail transport early in the morning.
- Can staff arrange a reputable taxi or transfer?
- Is public transport within a comfortable walking distance?
- Can I leave luggage safely after checkout?
- Is the reception staffed when I plan to depart?
- Can I buy water and food before leaving?
Know the emergency number before the hike
Do not assume every country uses 911. I save the destination’s emergency numbers in my phone and keep them in an offline note.
I also identify the organization responsible for the hiking area. That may be a park service, mountain rescue organization, ranger office, police service, or another local authority.
Check whether your insurance fits hiking
Travel insurance policies can differ on trekking altitude, rescue, evacuation, and adventure activities. I read those terms before choosing a remote or high-altitude route.
A cheap policy is not useful if the activity I planned falls outside its coverage. This matters even more where evacuation could require specialist transport.
Pro tip: Before international hiking, review the current government travel advisory for your destination and local park or rescue guidance. Conditions, closures, laws, and emergency procedures can change.
Section Takeaway: A strong solo hiking destination still works when something runs late. Reliable trailhead access, daylight buffers, backup transport, insurance, and emergency contacts give you room to adapt.
How Do Weather, Wildlife, and Health Risks Change the Choice?
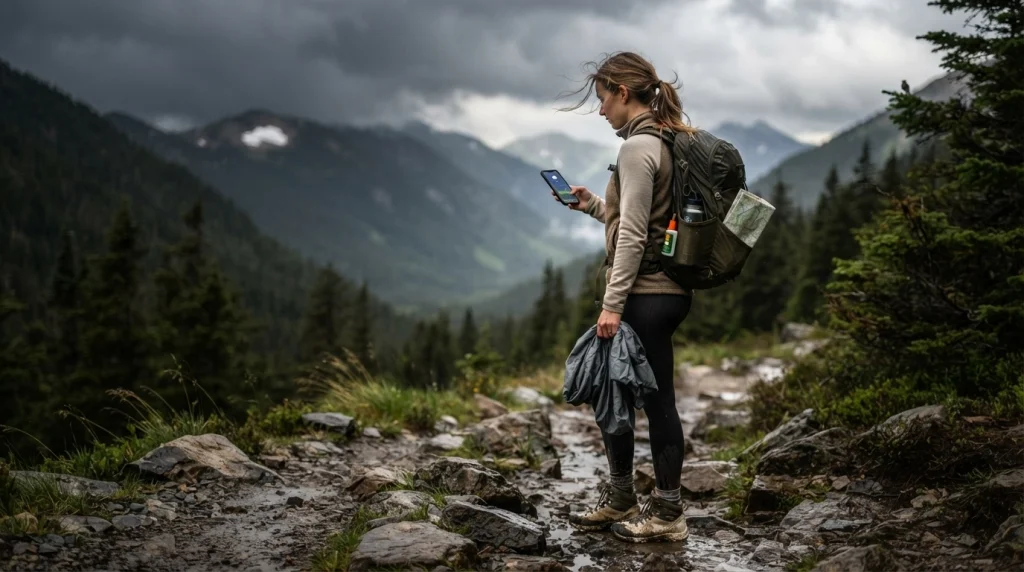
A trail that works well in one month can be a poor solo choice in another. Seasonal conditions often matter more than a destination’s general reputation.
Research the hiking season, not just the tourist season
I look for the period when trails are normally open and conditions are relatively stable. A city’s pleasant sightseeing weather does not guarantee safe mountain conditions nearby.
- Heat: Check shade, water availability, humidity, and exposed sections.
- Cold: Look at wind, overnight temperatures, ice, and sudden weather changes.
- Rain: Consider slippery rock, mud, flash flooding, river levels, and landslides.
- Snow: Determine whether ordinary hiking becomes winter travel requiring different skills.
- Storms: Research when thunderstorms usually develop and whether ridges are exposed.
- Wildfire: Check current closures and smoke conditions where fire is seasonal.
Understand the wildlife you may encounter
I want to know what animals live in the area before I choose the hike. Advice for bears can differ from advice for snakes, wild dogs, or aggressive monkeys.
Local park authorities should be the first source for behavior guidance. I do not depend on a random travel forum for wildlife safety rules.
Check insects and disease risks
Outdoor travel increases exposure to mosquitoes, ticks, and other biting insects in many regions. Prevention needs to match the destination rather than a generic packing list.
The CDC’s bug-bite prevention guidance recommends checking destination-specific risks and using appropriate repellents and protective measures.
After hiking in tick habitat, I check clothing, gear, and my body. I also follow local health guidance if symptoms develop after a bite.
Use a weather cancellation rule
I decide my cancellation triggers before I become emotionally attached to the hike. This makes it easier to walk away when conditions deteriorate.
- Official trail closure
- Severe weather warning
- Unsafe river or stream conditions
- Unexpected snow or ice beyond my experience
- Extreme heat without enough shade or water
- Wildfire or smoke affecting the route
- Illness, injury, or significant fatigue
Changing the plan is not a failed hiking day. Sometimes the safest destination is the café near the trailhead while the storm passes.
Section Takeaway: Evaluate the destination for the exact season and day you will hike. Weather, altitude, wildlife, insects, fire, and trail conditions can completely change an otherwise suitable route.
Solo Female Hiking Destination FAQ
Is hiking alone safe for a solo female traveler?
Hiking alone carries additional risk because nobody is beside you to help after an injury or navigation mistake. Choosing maintained routes, sharing your itinerary, checking conditions, carrying proper equipment, and selecting terrain within your abilities can reduce risk, but cannot remove it completely.
What type of hiking destination is best for a beginner traveling alone?
For a first solo hike, I would choose a popular managed hiking area with signed day trails, official maps, reliable trailhead transport, and several route lengths. I would avoid remote backcountry, technical scrambling, difficult river crossings, and routes requiring specialist navigation skills.
Should I choose a busy trail when hiking alone?
A moderately popular trail can provide useful backup without feeling crowded. Regular hikers, rangers, or staff may make it easier to get information or assistance, but you should still carry your own navigation, water, food, layers, and emergency plan.
How long should my first solo hike be?
There is no universal ideal distance because elevation, terrain, weather, fitness, and altitude change difficulty. Your first solo route should feel comfortably below your maximum ability and leave enough daylight and energy to handle delays or turn back early.
Should I avoid destinations without cell service?
Limited service does not automatically make a destination unsuitable, but it raises the planning requirement. Download maps, share your route, know emergency procedures, carry enough supplies, and consider an appropriate satellite communication device when hiking where normal phone service is unreliable.
How do I know whether a hiking trail is too remote for me?
Look at distance from roads, expected trail traffic, rescue access, navigation difficulty, phone coverage, alternate exits, and time required to reach help. If several of those factors are uncertain and you have limited backcountry experience, choose a more developed route.
What should I check the night before a solo hike?
Recheck the official weather forecast, trail closures, transport schedule, daylight, route map, emergency contacts, and your equipment. Send your route and expected return time to a trusted person, then change the plan if conditions no longer match your skills.
Choosing a destination for hiking alone should make you feel prepared, not pressured. I would rather finish an easier trail with energy left than spend six hours wondering whether I chose a route beyond my experience.
Start with a managed day hike, learn what feels comfortable when you’re responsible for every decision, and build from there. The best solo hiking destination is the one that gives you room to enjoy the trail while keeping your backup options clear.