Knowing when hiking boots should be replaced is key to enjoying safe and comfortable outdoor adventures. This guide covers the signs of worn-out boots, how to assess their condition, and practical tips to choose the right time for replacement, ensuring your feet stay happy on every hike.
Key Takeaways
- Boot lifespan varies: Hiking boots typically last between 500-1000 miles, depending on use and care.
- Watch for sole wear: Worn-out soles reduce traction and support, signaling replacement time.
- Inspect upper damage: Cracks, tears, or loss of waterproofing affect comfort and protection.
- Check midsole cushioning: Flattened midsoles lead to less shock absorption and more foot fatigue.
- Comfort decline is a key sign: Persistent discomfort or new blisters indicate your boots may be worn out.
- Proper boot care extends life: Cleaning and conditioning boots regularly help maintain their performance.
- Replace boots proactively: Avoid injuries by swapping boots before they fully break down.
When Should Hiking Boots Be Replaced for Best Performance and Comfort
If you love hiking, you know how important good boots are. But how do you know when hiking boots should be replaced? Wearing worn-out boots can cause discomfort, injuries, or even accidents on the trail. In this guide, you will learn how to spot the signs that your boots are past their prime. You’ll also discover tips to extend their life and when exactly to invest in a new pair. Let’s get started!
Understanding the Lifespan of Hiking Boots
Hiking boots don’t last forever. On average, they last between 500 and 1000 miles, which translates to about 2-3 hiking seasons for most people. However, this depends on several factors:
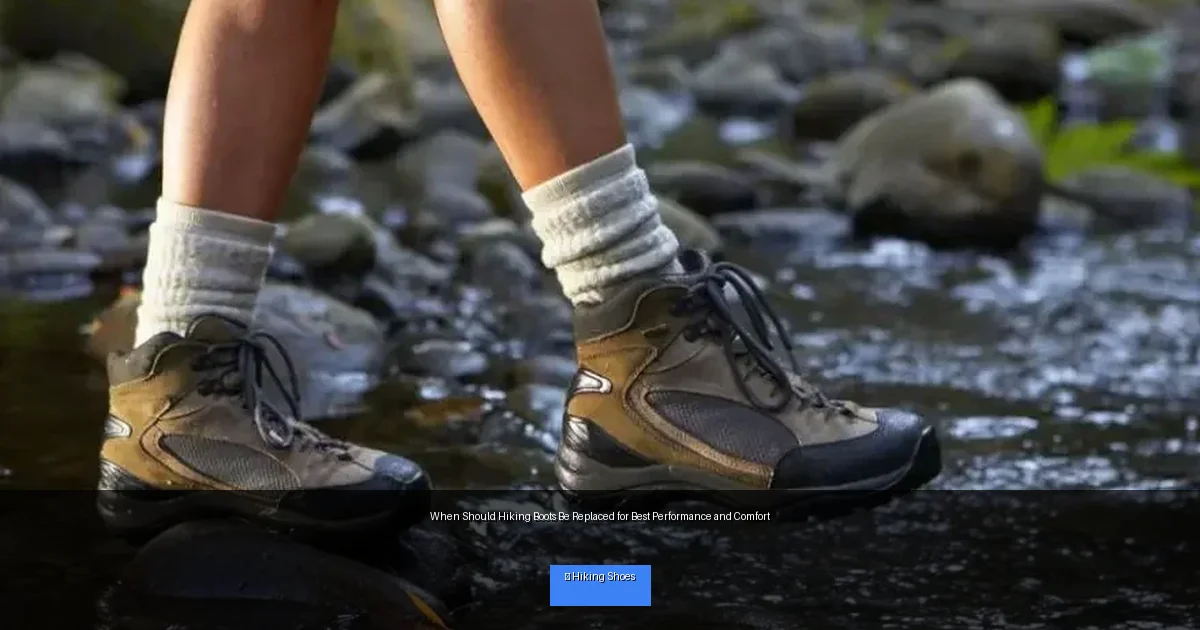
Visual guide about When Should Hiking Boots Be Replaced for Best Performance and Comfort
Image source: media.gearweare.net
- Frequency of use: Regular hikers wear their boots out faster.
- Terrain: Rocky or uneven trails cause more wear than flat paths.
- Boot quality: Higher-end boots generally last longer.
- Maintenance: Proper cleaning and conditioning help boots endure more.
Knowing this baseline helps you keep track of your boots’ mileage and condition.
Step 1: Check the Outsoles for Wear and Tear
The outsole is the bottom of your boots – the part that contacts the ground. It’s often made of rubber or other durable material.
Look for Worn Tread Patterns
If the tread is smooth or unevenly worn down, your boots lose grip. This increases the risk of slipping, especially on wet or rocky surfaces.
Inspect for Cracks and Separation
Cracks or parts peeling away from the boot indicate structural failure. If the outsole is coming loose, it’s time for new boots.
Step 2: Examine the Midsole for Cushioning and Support
The midsole is the layer between the outsole and the insole. It absorbs shock and supports your feet.
Look for Flattened or Compressed Midsoles
If your boots feel less cushioned or your feet tire quickly, the midsole may have broken down. You can test this by pressing down with your hand; if it feels flat or hard, it’s a warning sign.
Check for Uneven Wear
Uneven midsole wear can cause foot pain or affect your gait. This often leads to blisters or joint discomfort.
Step 3: Inspect the Upper for Damage and Waterproofing
The upper part covers your foot and ankle. It protects, supports, and keeps water out.
Look for Tears, Holes, or Cracks
Any visible damage reduces protection and comfort. Small holes can widen over time, exposing feet to dirt and moisture.
Test Waterproofing
If your boots let water in during wet weather, check if waterproof coatings or membranes (like Gore-Tex) have worn off. Reapplying waterproof sprays can help, but if water still seeps in, replacement might be necessary.
Step 4: Assess Comfort and Fit
Comfort is a major factor in deciding when hiking boots should be replaced.
Notice New Hotspots or Blisters
If your boots suddenly cause discomfort or blisters where there were none, your boots may have lost their shape or cushioning.
Check for Loose or Stiff Areas
Boots should flex naturally where your foot bends and stay snug elsewhere. Loss of flexibility or looseness leads to instability.
Step 5: Track Usage and Mileage
Keep a record of how many miles you hike in your boots. Using a hiking app or journal can help track this.
Estimate Based on Typical Lifespan
Once you hit 500-700 miles on rough terrain, start inspecting your boots more often. If you mostly hike easy trails, you might get closer to 1000 miles.
Step 6: Maintain Your Hiking Boots to Extend Life
Proper care delays replacement and improves comfort.
Clean After Each Use
Remove dirt and mud using a soft brush and lukewarm water. Avoid harsh soaps that can damage materials.
Condition Leather Uppers
Use leather conditioners to keep materials supple and waterproof.
Dry Properly
Air dry boots away from direct heat sources. Stuffing with newspaper helps absorb moisture and maintain shape.
Replace Insoles
Changing worn insoles can improve comfort without replacing the entire boot.
Troubleshooting Common Issues
Boots Feel Slippery Despite Good Tread
Sometimes dirt or grime reduces grip. Clean soles thoroughly and check for embedded stones. If tread is intact but slippery, consider replacing soles or boots.
Boots Leak Despite Waterproofing Attempts
Repeated waterproofing sprays help, but if water penetrates through seams or material, replacement is the safest option.
Persistent Foot Pain or Fatigue
If changing socks or insoles doesn’t help, your boots might lack support. Worn midsoles should be replaced to prevent injury.
Conclusion: When to Replace Hiking Boots
Knowing when hiking boots should be replaced helps you stay comfortable, safe, and injury-free. Regularly inspect soles, midsoles, uppers, and comfort. Track your usage and maintain boots well. Replace boots if you notice worn tread, damaged uppers, lost cushioning, or discomfort that won’t go away. Don’t wait until boots fail completely—swapping them out at the right time keeps your feet happy and your adventures enjoyable. Happy hiking!