Knowing how to tie hiking shoes properly can make all the difference in your outdoor adventures. This guide teaches you simple, effective techniques to achieve a secure fit and ultimate comfort, helping you avoid blisters and foot fatigue on the trail.
Key Takeaways
- Proper lacing ensures a secure fit: Keeps your foot stable, reducing injury risk.
- Different lacing techniques serve different needs: Customize comfort and support based on foot shape and trail conditions.
- Consistent tension is key: Avoid pressure points and hotspots by evenly tightening laces.
- Double knotting prevents loosening: Keeps shoes tied throughout long hikes.
- Know how to adjust lacing mid-hike: Adapt to swelling or terrain changes quickly.
- Proper shoe fit combined with correct lacing: Maximizes comfort and performance.
- Regularly check laces and eyelets: Maintains shoe integrity and safety.
How to Tie Hiking Shoes for Ultimate Comfort and Secure Fit
Hiking shoes are your best friends on the trail. But no matter how high-quality your shoes are, if they are not laced properly, you can face discomfort, blisters, or even injuries. In this guide, you will learn how to tie hiking shoes step-by-step to achieve a snug, comfortable, and secure fit. We’ll cover different lacing methods, tips for customizing fit, and troubleshooting advice to keep your feet happy on any hike.
Why Properly Tying Hiking Shoes Matters
The right lacing technique helps stabilize your feet, prevents slipping inside the shoe, and distributes pressure evenly. This reduces the chance of blisters, foot fatigue, and even ankle twists. Since hiking involves long hours on uneven terrain, a secure fit is essential for safety and enjoyment.
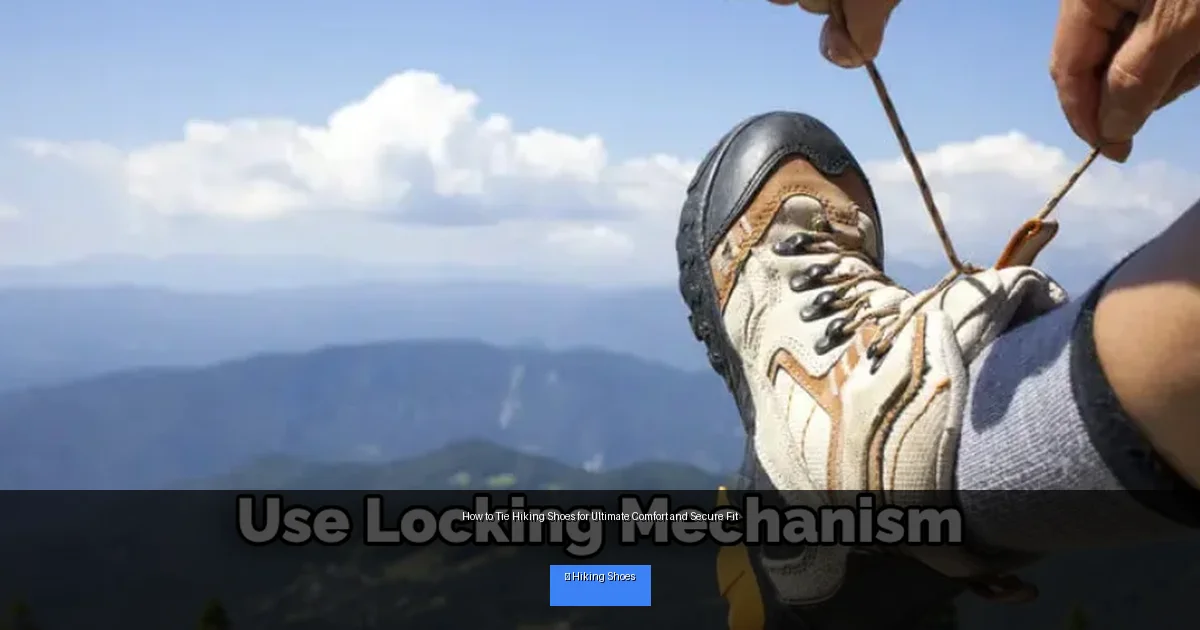
Visual guide about How to Tie Hiking Shoes for Ultimate Comfort and Secure Fit
Image source: shoewhy.com
Step 1: Choose the Right Lacing Technique
Not all lacing methods are the same. Depending on your foot shape, hiking conditions, and personal comfort, you might prefer one over another. Here are some common lacing techniques:
Standard Criss-Cross Lacing
This is the most common and easiest technique. It provides a balanced fit for most foot shapes.
Heel Lock (Runner’s Tie)
Great for preventing heel slippage, especially on steep descents or uneven ground.
Wide Foot Lacing
Skips certain eyelets to reduce pressure on the top of wide feet.
High Instep Lacing
Allows more room on top for people with high arches or insteps.
Step 2: Prepare Your Hiking Shoes
Before you start lacing, make sure your shoes are clean and dry. Replace worn-out laces if necessary. Untangle the laces fully so you can begin fresh.
Step 3: Start Lacing from the Bottom
Insert the Lace Ends
Begin by threading the lace through the bottom eyelets from the outside in. Make sure both ends are even in length.
Criss-Cross Upwards
Cross the laces over, inserting each end into the next eyelet on the opposite side, moving upwards.
Step 4: Use the Heel Lock for Extra Security
This technique helps lock your heel in place and prevents slipping.
Create a Loop on Each Side
At the second-to-last eyelet, thread the lace straight up into the last eyelet on the same side, forming a small loop.
Cross the Laces Through Loops
Take each lace end, cross it over, and insert it through the loop on the opposite side.
Tighten and Tie
Pull the laces tight to lock your heel, then finish with a secure knot.
Step 5: Tie a Secure Knot
The classic bow knot is common, but for hiking shoes, it’s best to double knot to prevent loosening.
Make the Bow
Create a simple bow knot.
Double Knot
Take the loops and tie them again to lock the knot in place.
Step 6: Check Comfort and Fit
Stand up and walk around a bit. Your foot should feel snug but not tight. You should be able to wiggle your toes slightly without feeling pressure. If you notice hotspots or discomfort, adjust the lacing accordingly.
Practical Tips for Tying Hiking Shoes
- Adjust tension gradually: Tighten laces bit by bit to avoid pinching.
- Customize lacing for foot shape: Use wide foot or high instep methods if needed.
- Use lace locks or hooks: They add extra security on rough terrain.
- Replace laces regularly: Worn laces can break or slip.
- Keep extra laces handy: Just in case of breakage on the trail.
Troubleshooting Common Lacing Problems
Laces Keep Loosening
Try double knotting or use a lace lock technique. Also, check if the lace material is slippery and consider switching to a different type.
Hotspots or Blisters
Loosen laces around the painful area or try an alternate lacing method like wide foot lacing to relieve pressure.
Heel Slippage
Apply the heel lock technique to secure your heel firmly in place.
Laces Are Too Short or Too Long
Replace with laces that match the length recommended by your shoe manufacturer for your shoe size.
Conclusion
Mastering how to tie hiking shoes is a simple but essential skill for every hiker. With the right lacing technique, you can enjoy better comfort, support, and stability on the trail. Remember to adjust your laces to your foot shape and hiking conditions, and don’t hesitate to experiment with different methods. Properly tied hiking shoes will keep you moving comfortably and safely on every adventure!